
Web UI and sign-in
The web UI is served at the root of the hub. It opens on a dashboard, shows each server’s state, tools and versions, restarts servers, updates and rolls back packages, reloads the server file, creates, edits, disables and deletes keys, and shows the hub’s logs. It refreshes itself every few seconds.
The top bar holds the sections (Servers, Keys, Logs), a search field and the account menu with Settings and Sign out. The search filters the section you are in as you type; on the dashboard it searches the servers. The MCP Yard title and the house at the start of every page’s breadcrumbs lead back to the dashboard, and the footer shows the running version, with a badge when a newer release is out.
Dashboard
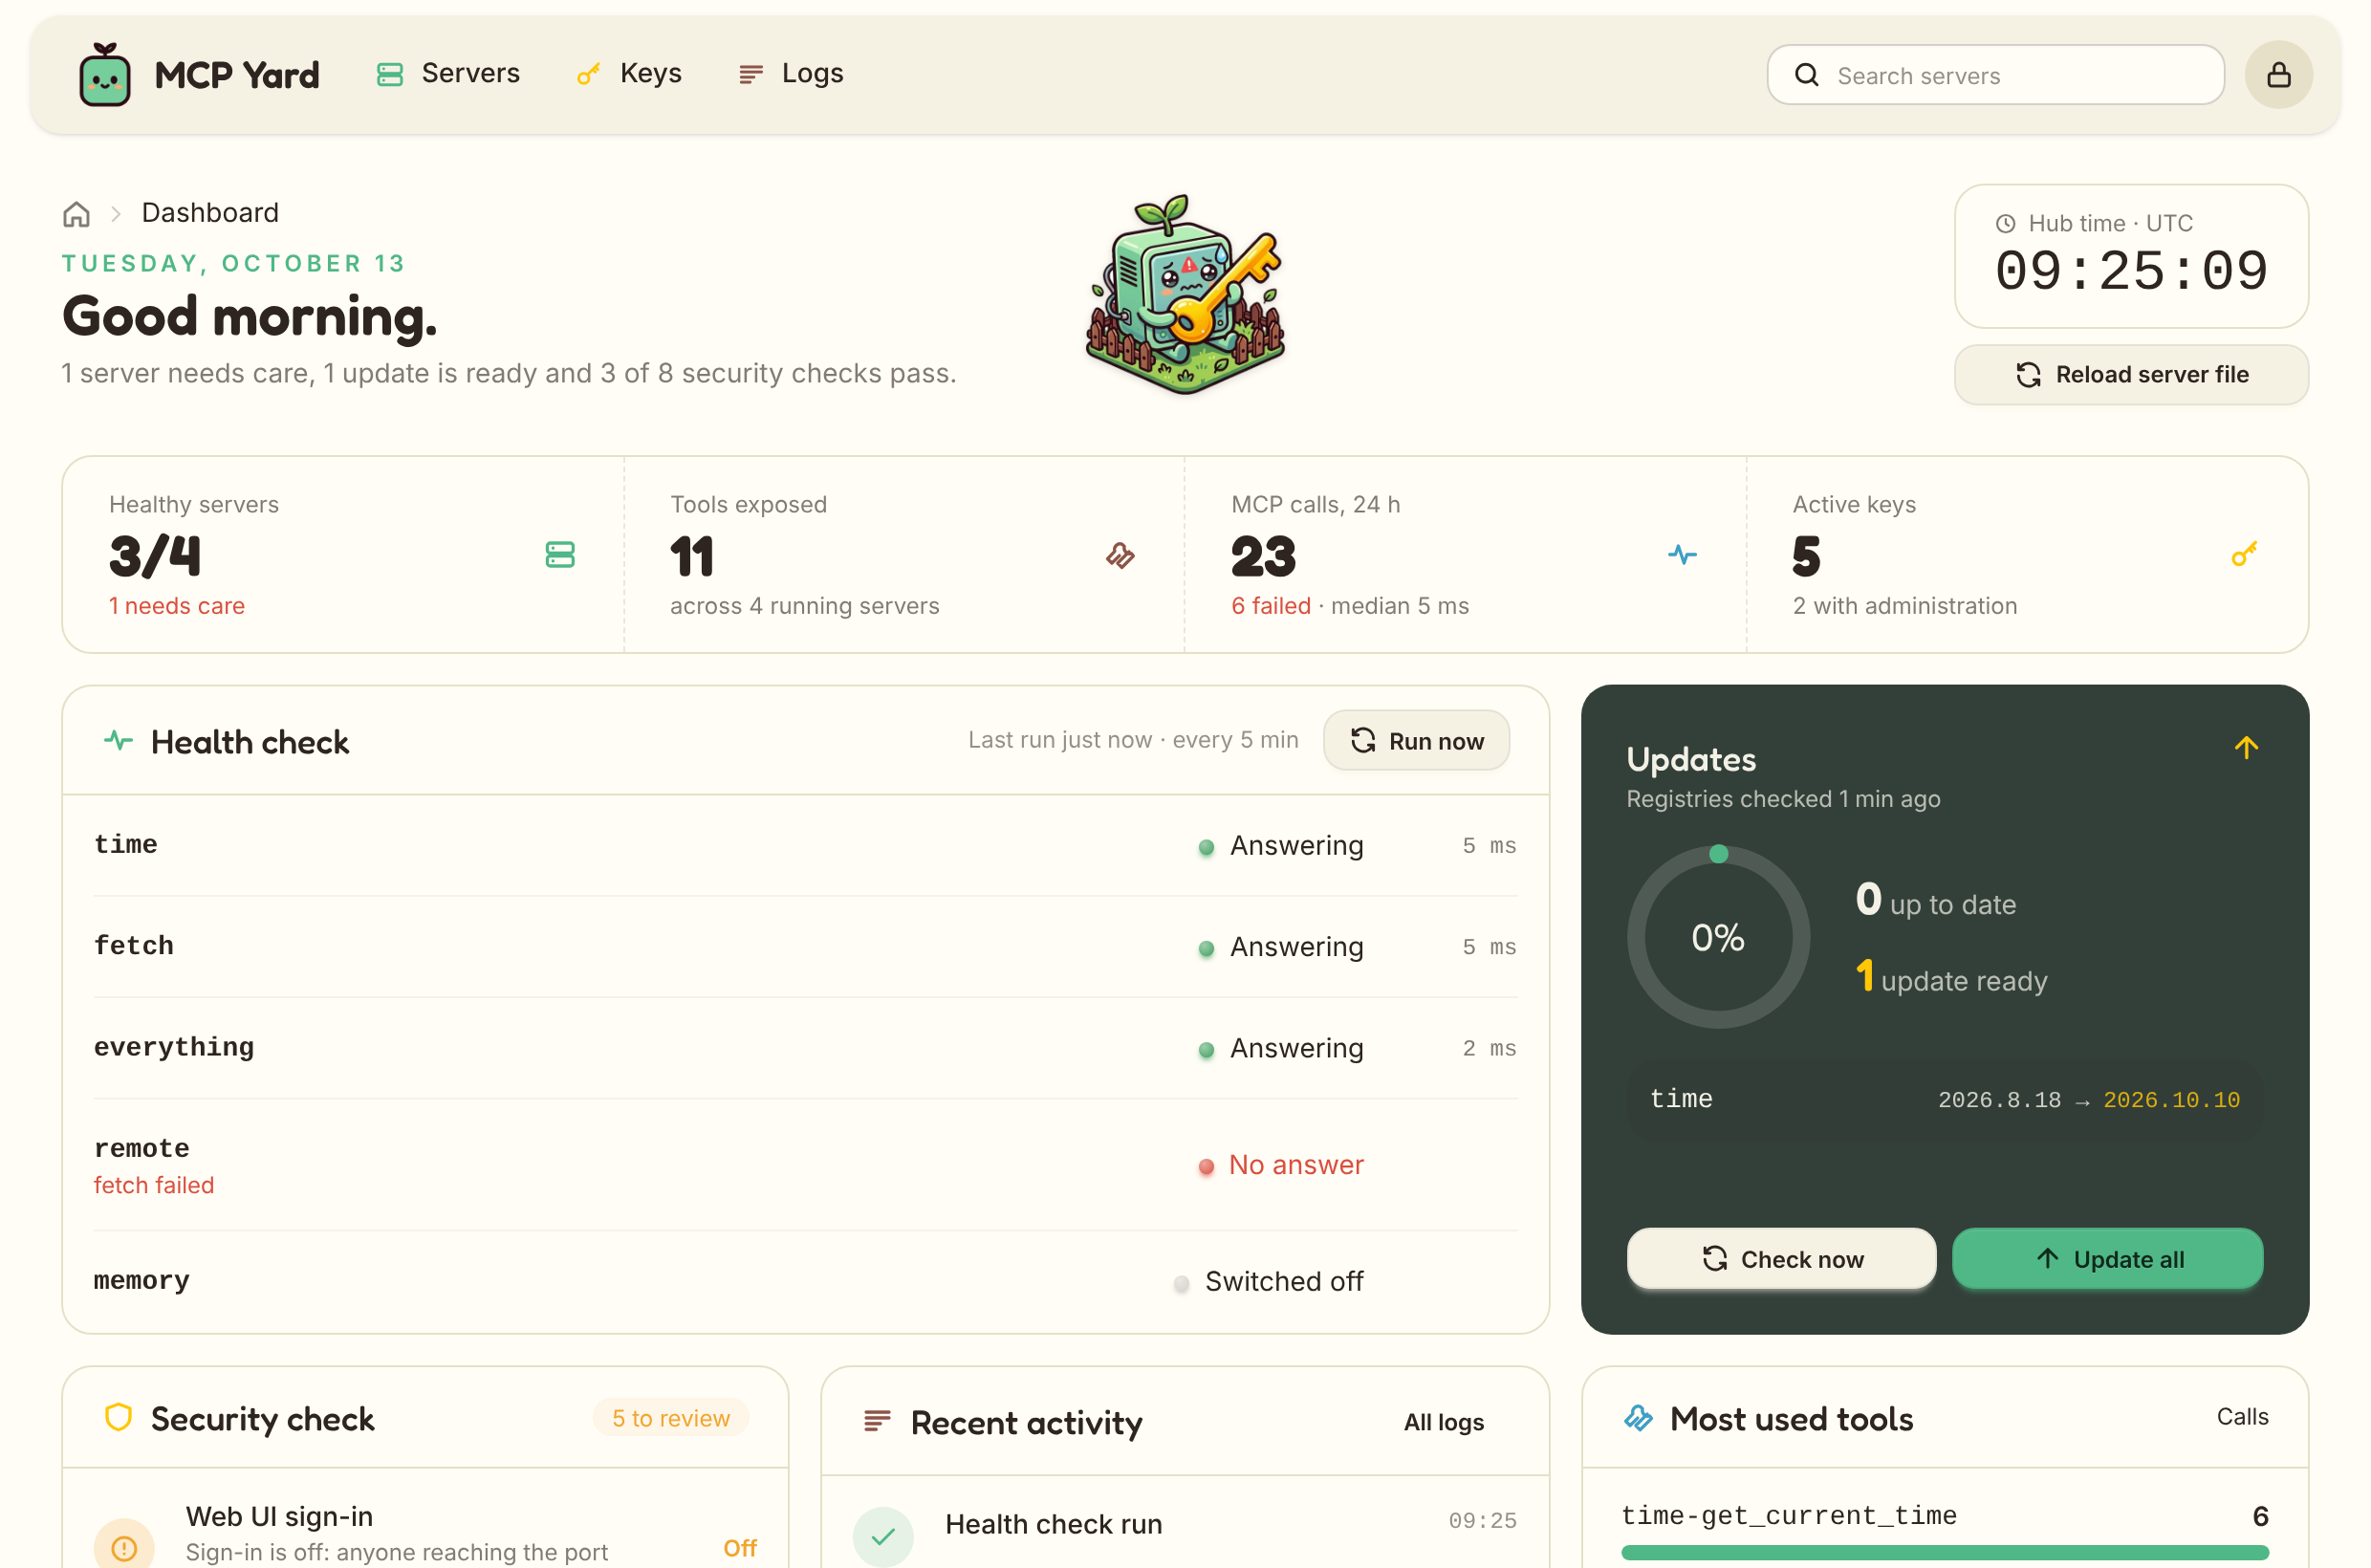
Section titled “Dashboard”The home page sums up the yard: healthy servers, tools exposed, MCP calls of the last 24 hours with their failures and median duration, and active keys. The hub’s own clock sits next to the title. Below:
- Health check: every running server is pinged over MCP every 5 minutes (see Settings), and Run now pings them at once. It shows who answers, and how fast; a server that stops or starts answering also gets a line in the logs.
- Updates: how many hub-owned packages run their latest version, the ones that do not, Check now to ask the registries at once, and Update all to update every one of them, each keeping the old version serving until the new one answers. Nightly updates, when turned on, show up in the activity.
- Security check: sign-in on, HTTPS address, keys that can administer the hub, keys idle for 30 days, keys without limits, packages allowed to run install scripts, the hub’s version and whether the server file is writable from the UI.
- Recent activity and Most used tools, from the logs.
Reload server file re-reads the server file, as on the servers page.
Servers
Section titled “Servers”The servers page, at /servers, has two layouts, switched with the buttons at the right of the toolbar and
remembered in a cookie: cards, one per server, and a list with one row per server. Tabs
filter the servers by state (All, Online, Failed, Disabled) and the search field in
the top bar matches names, titles and packages. A server with a title in the server file shows it
in place of its name; tools keep the short name. Each server has a switch and a ⋯ menu to restart, update, roll back
or remove it.
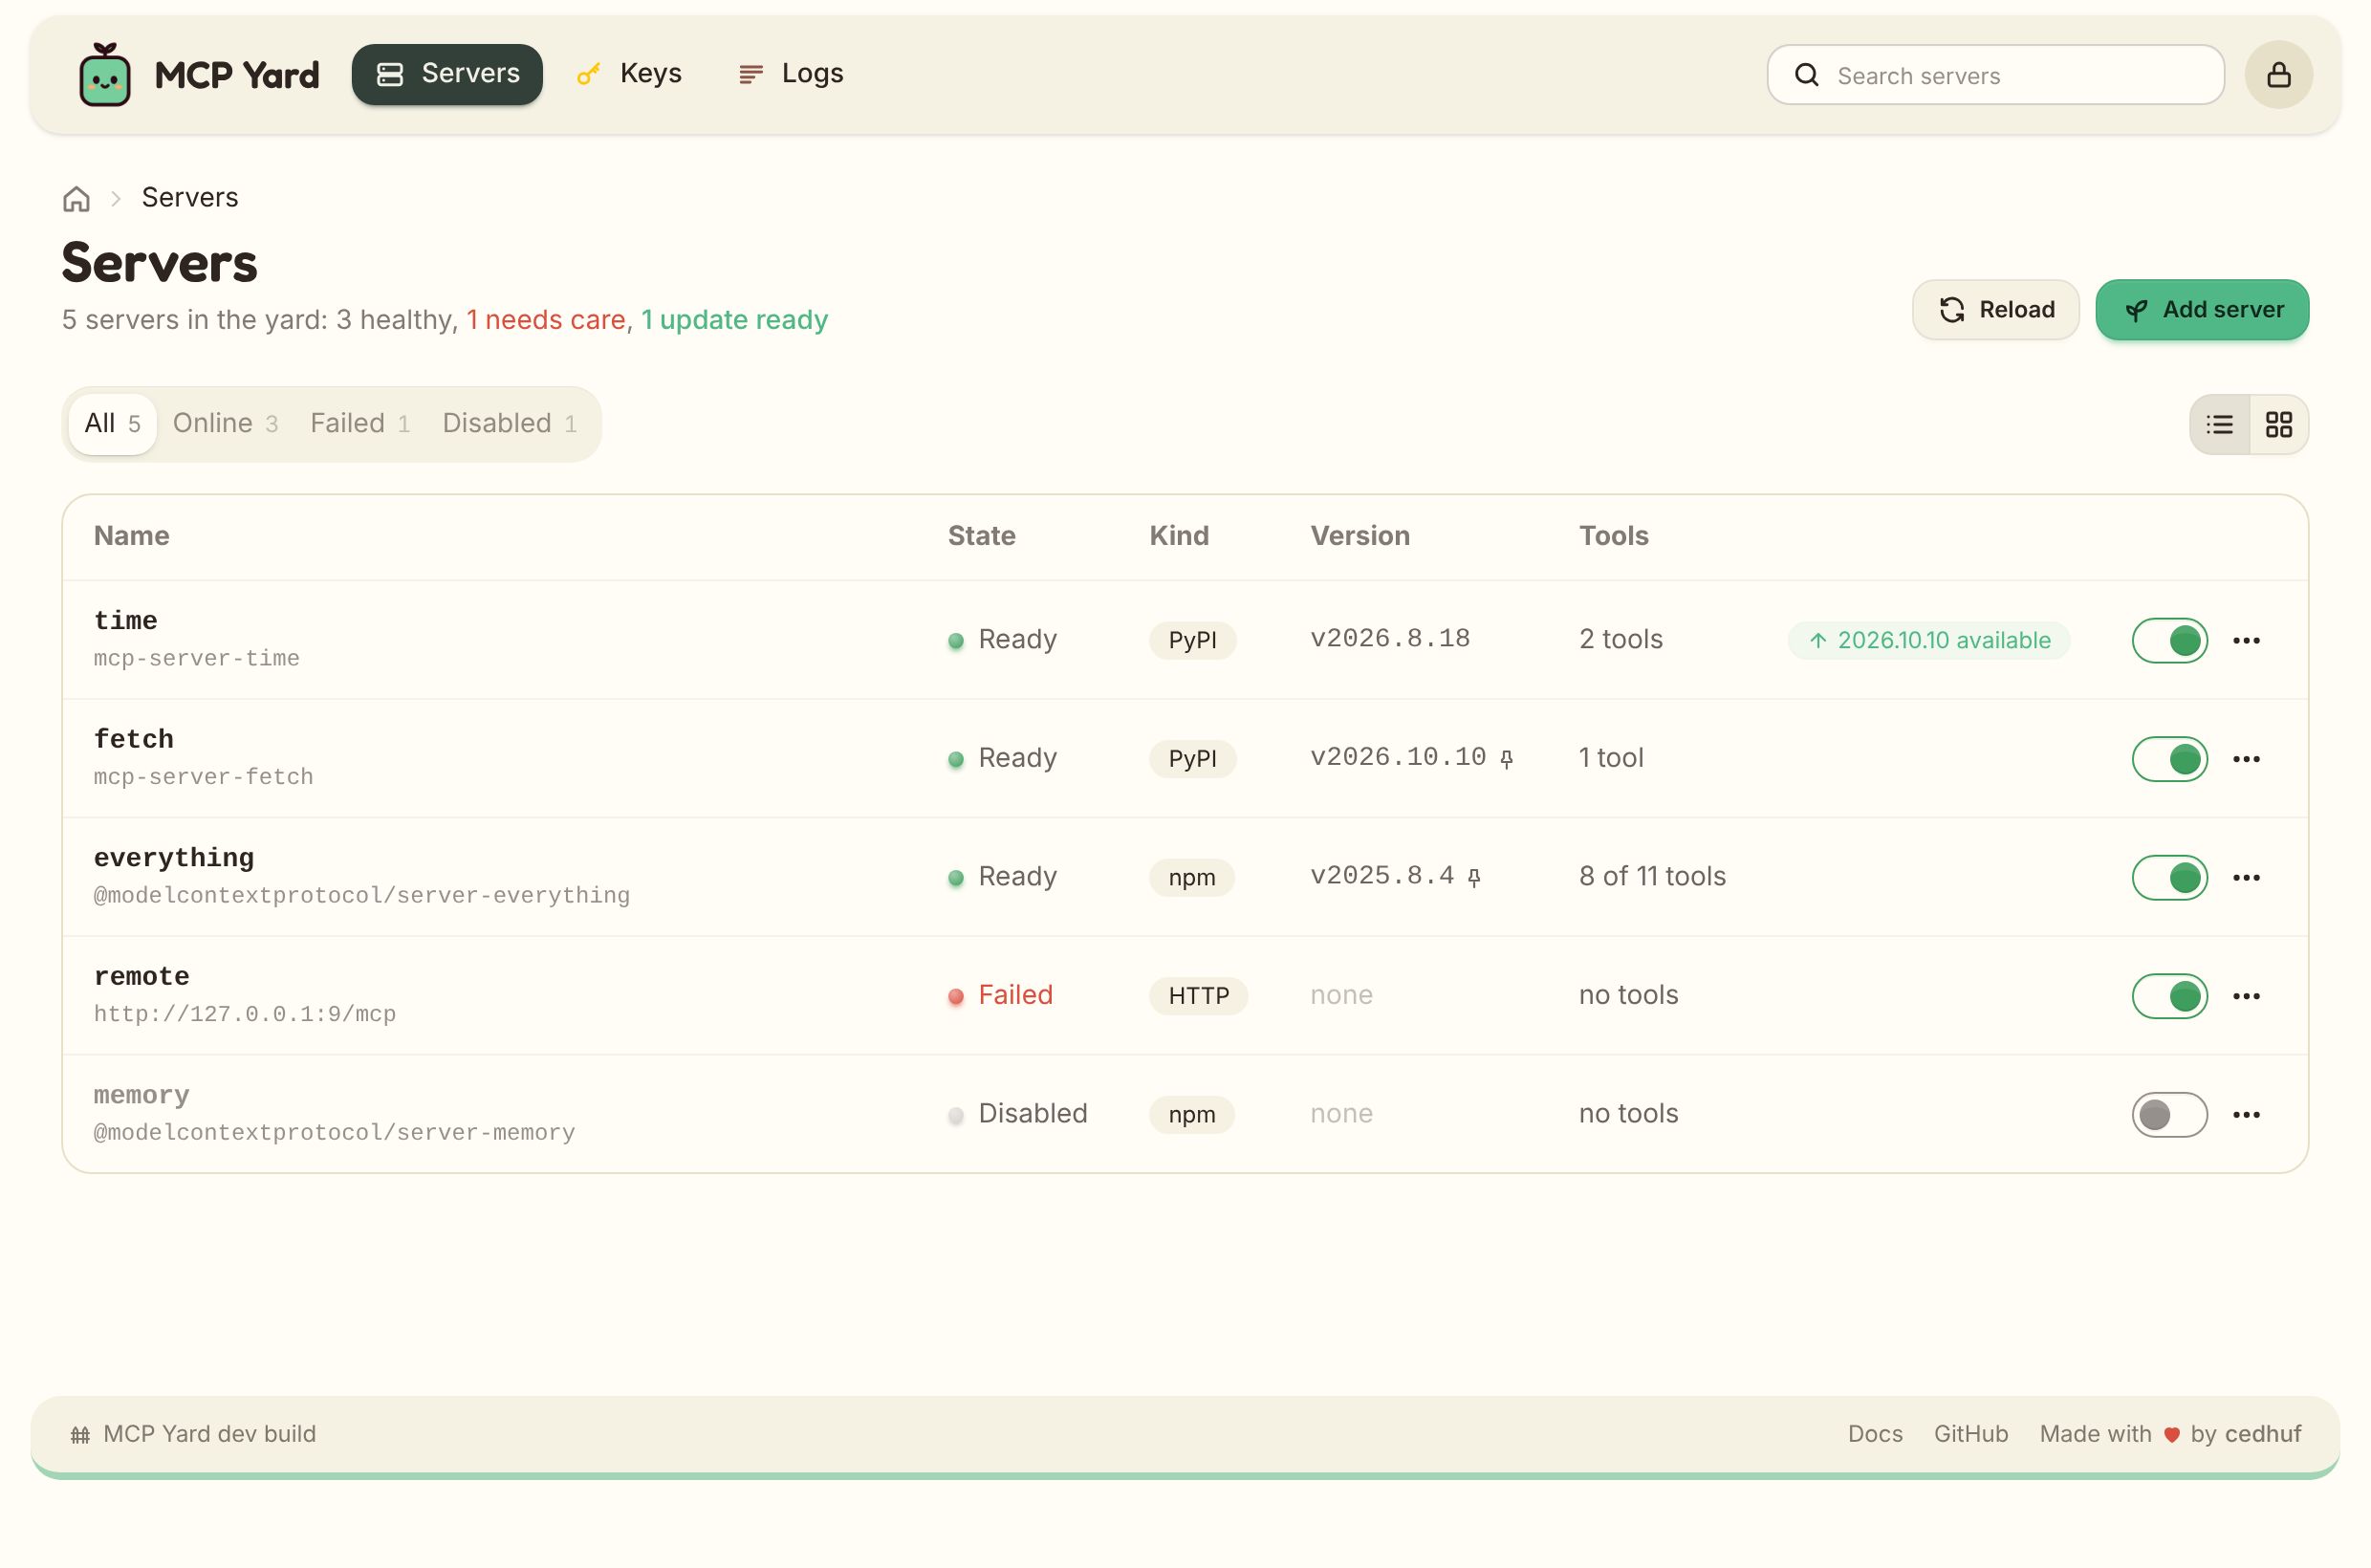
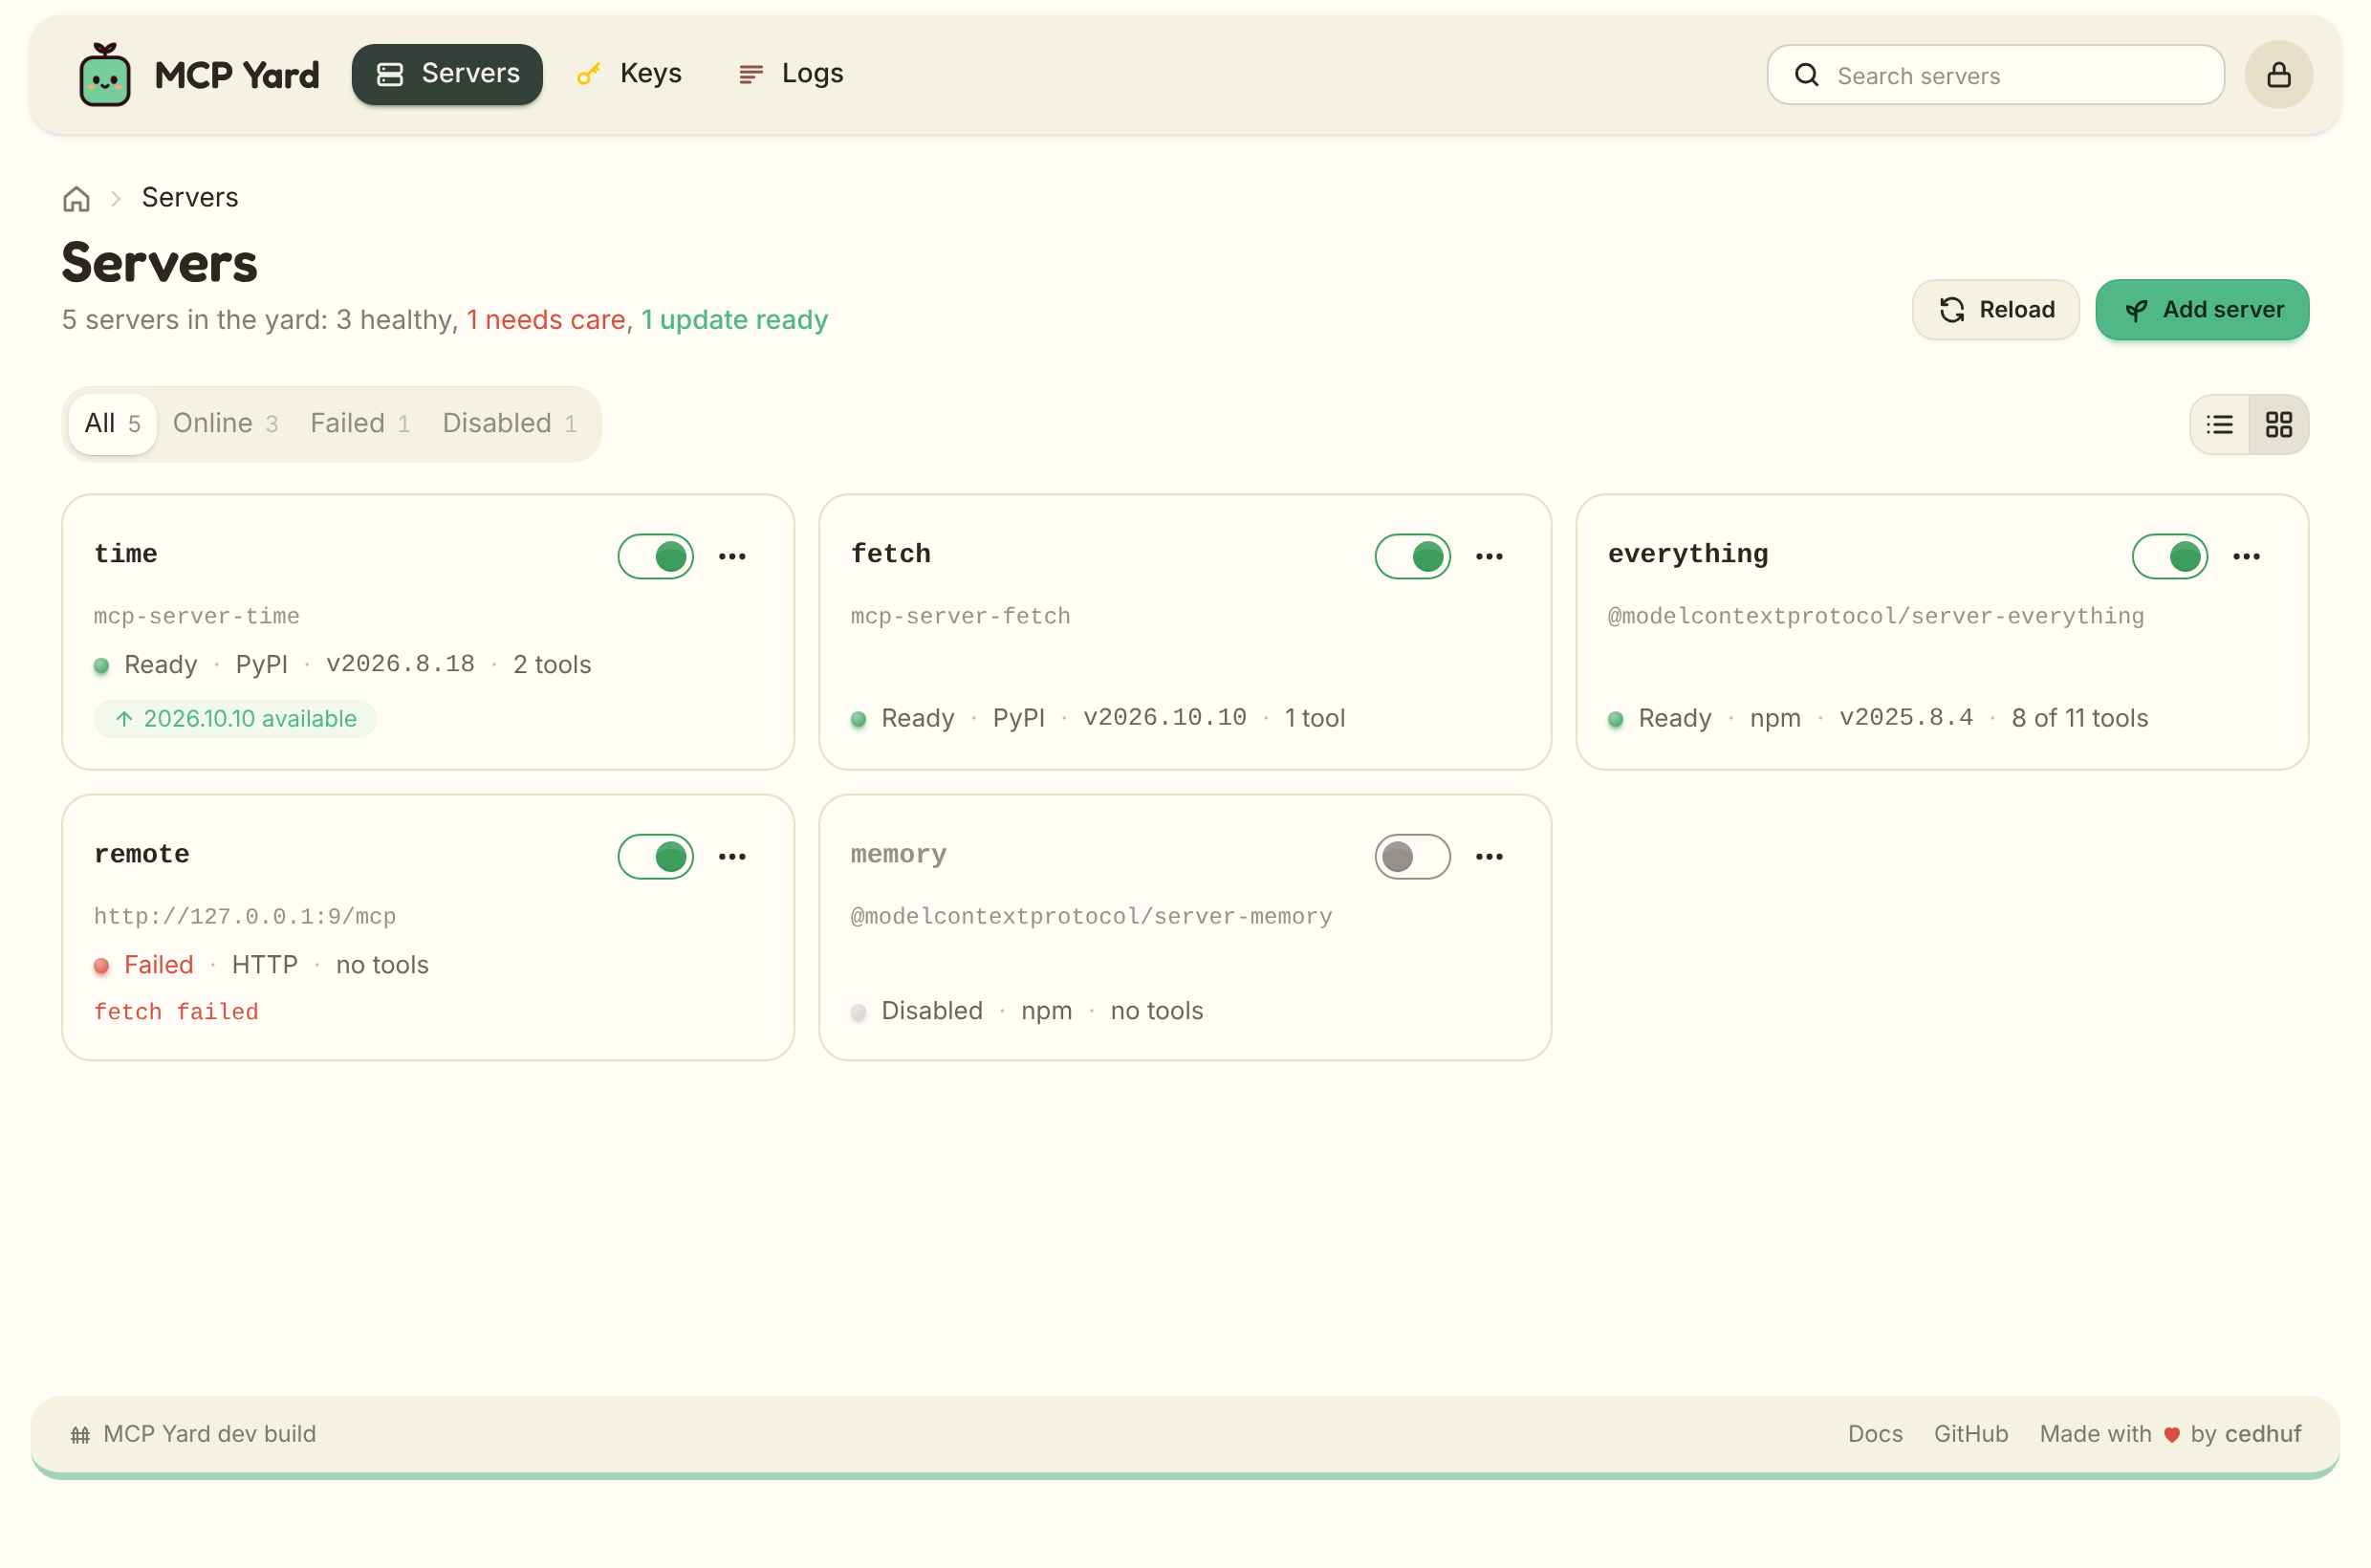
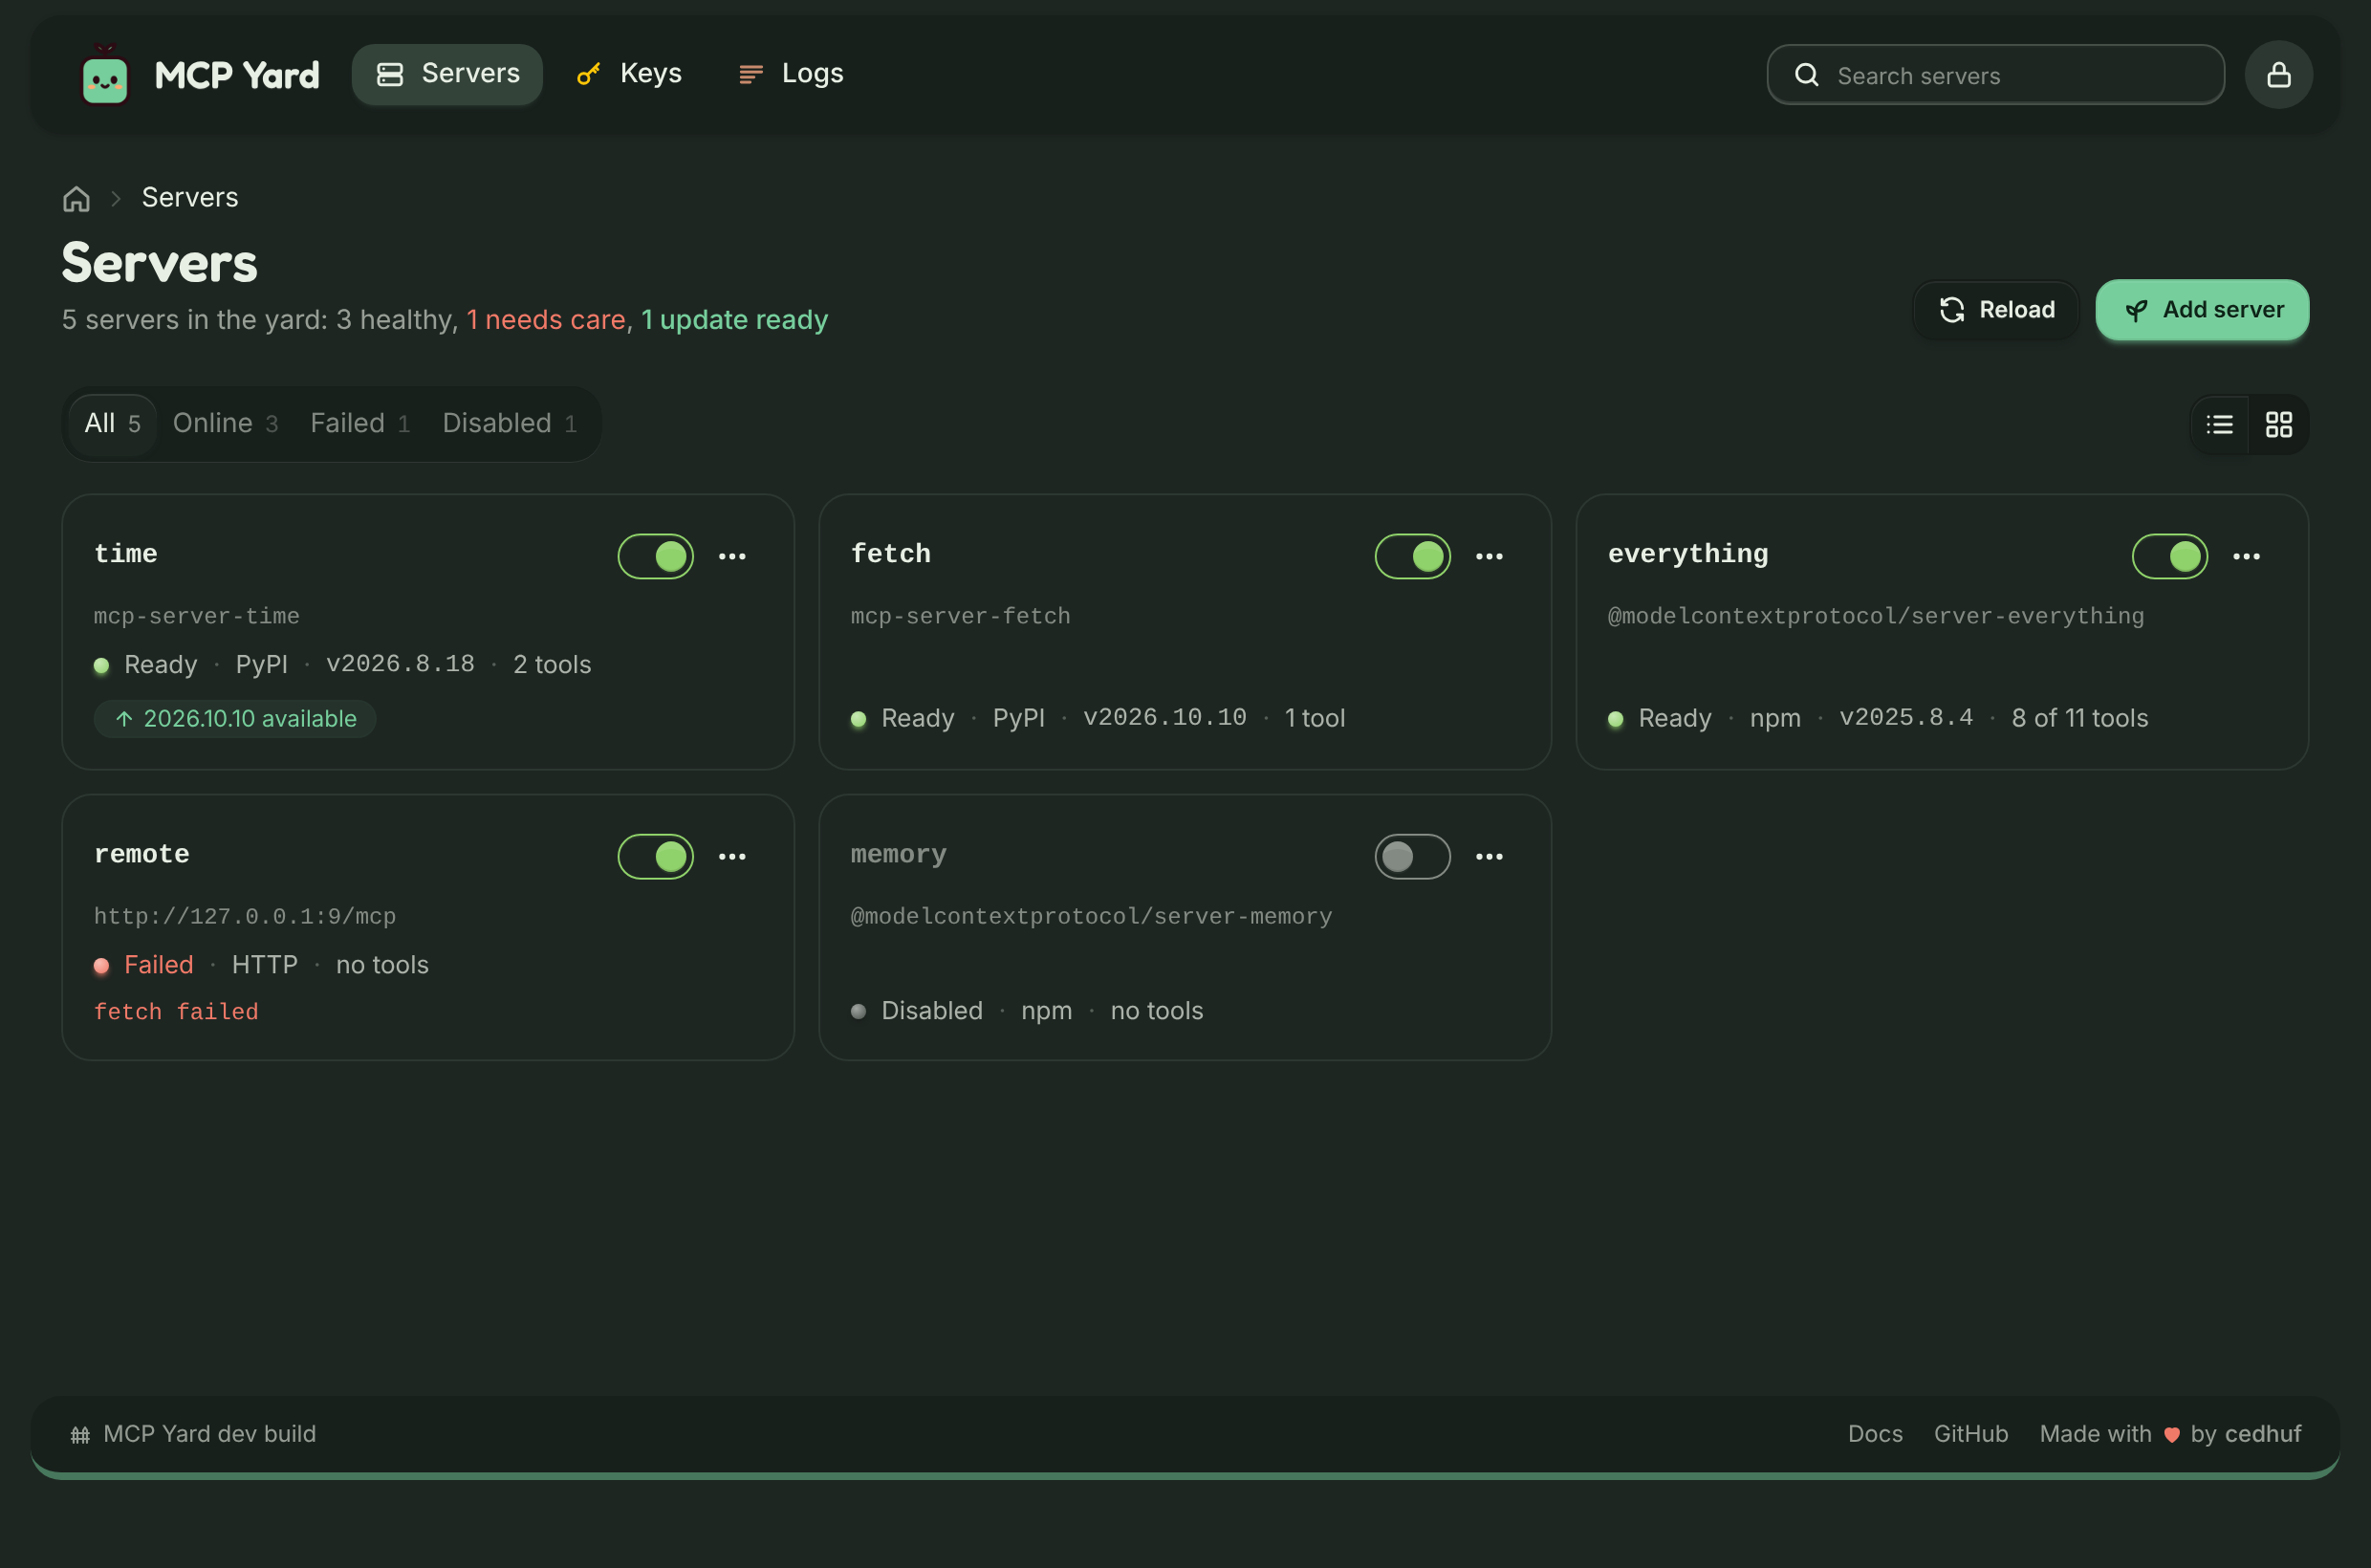
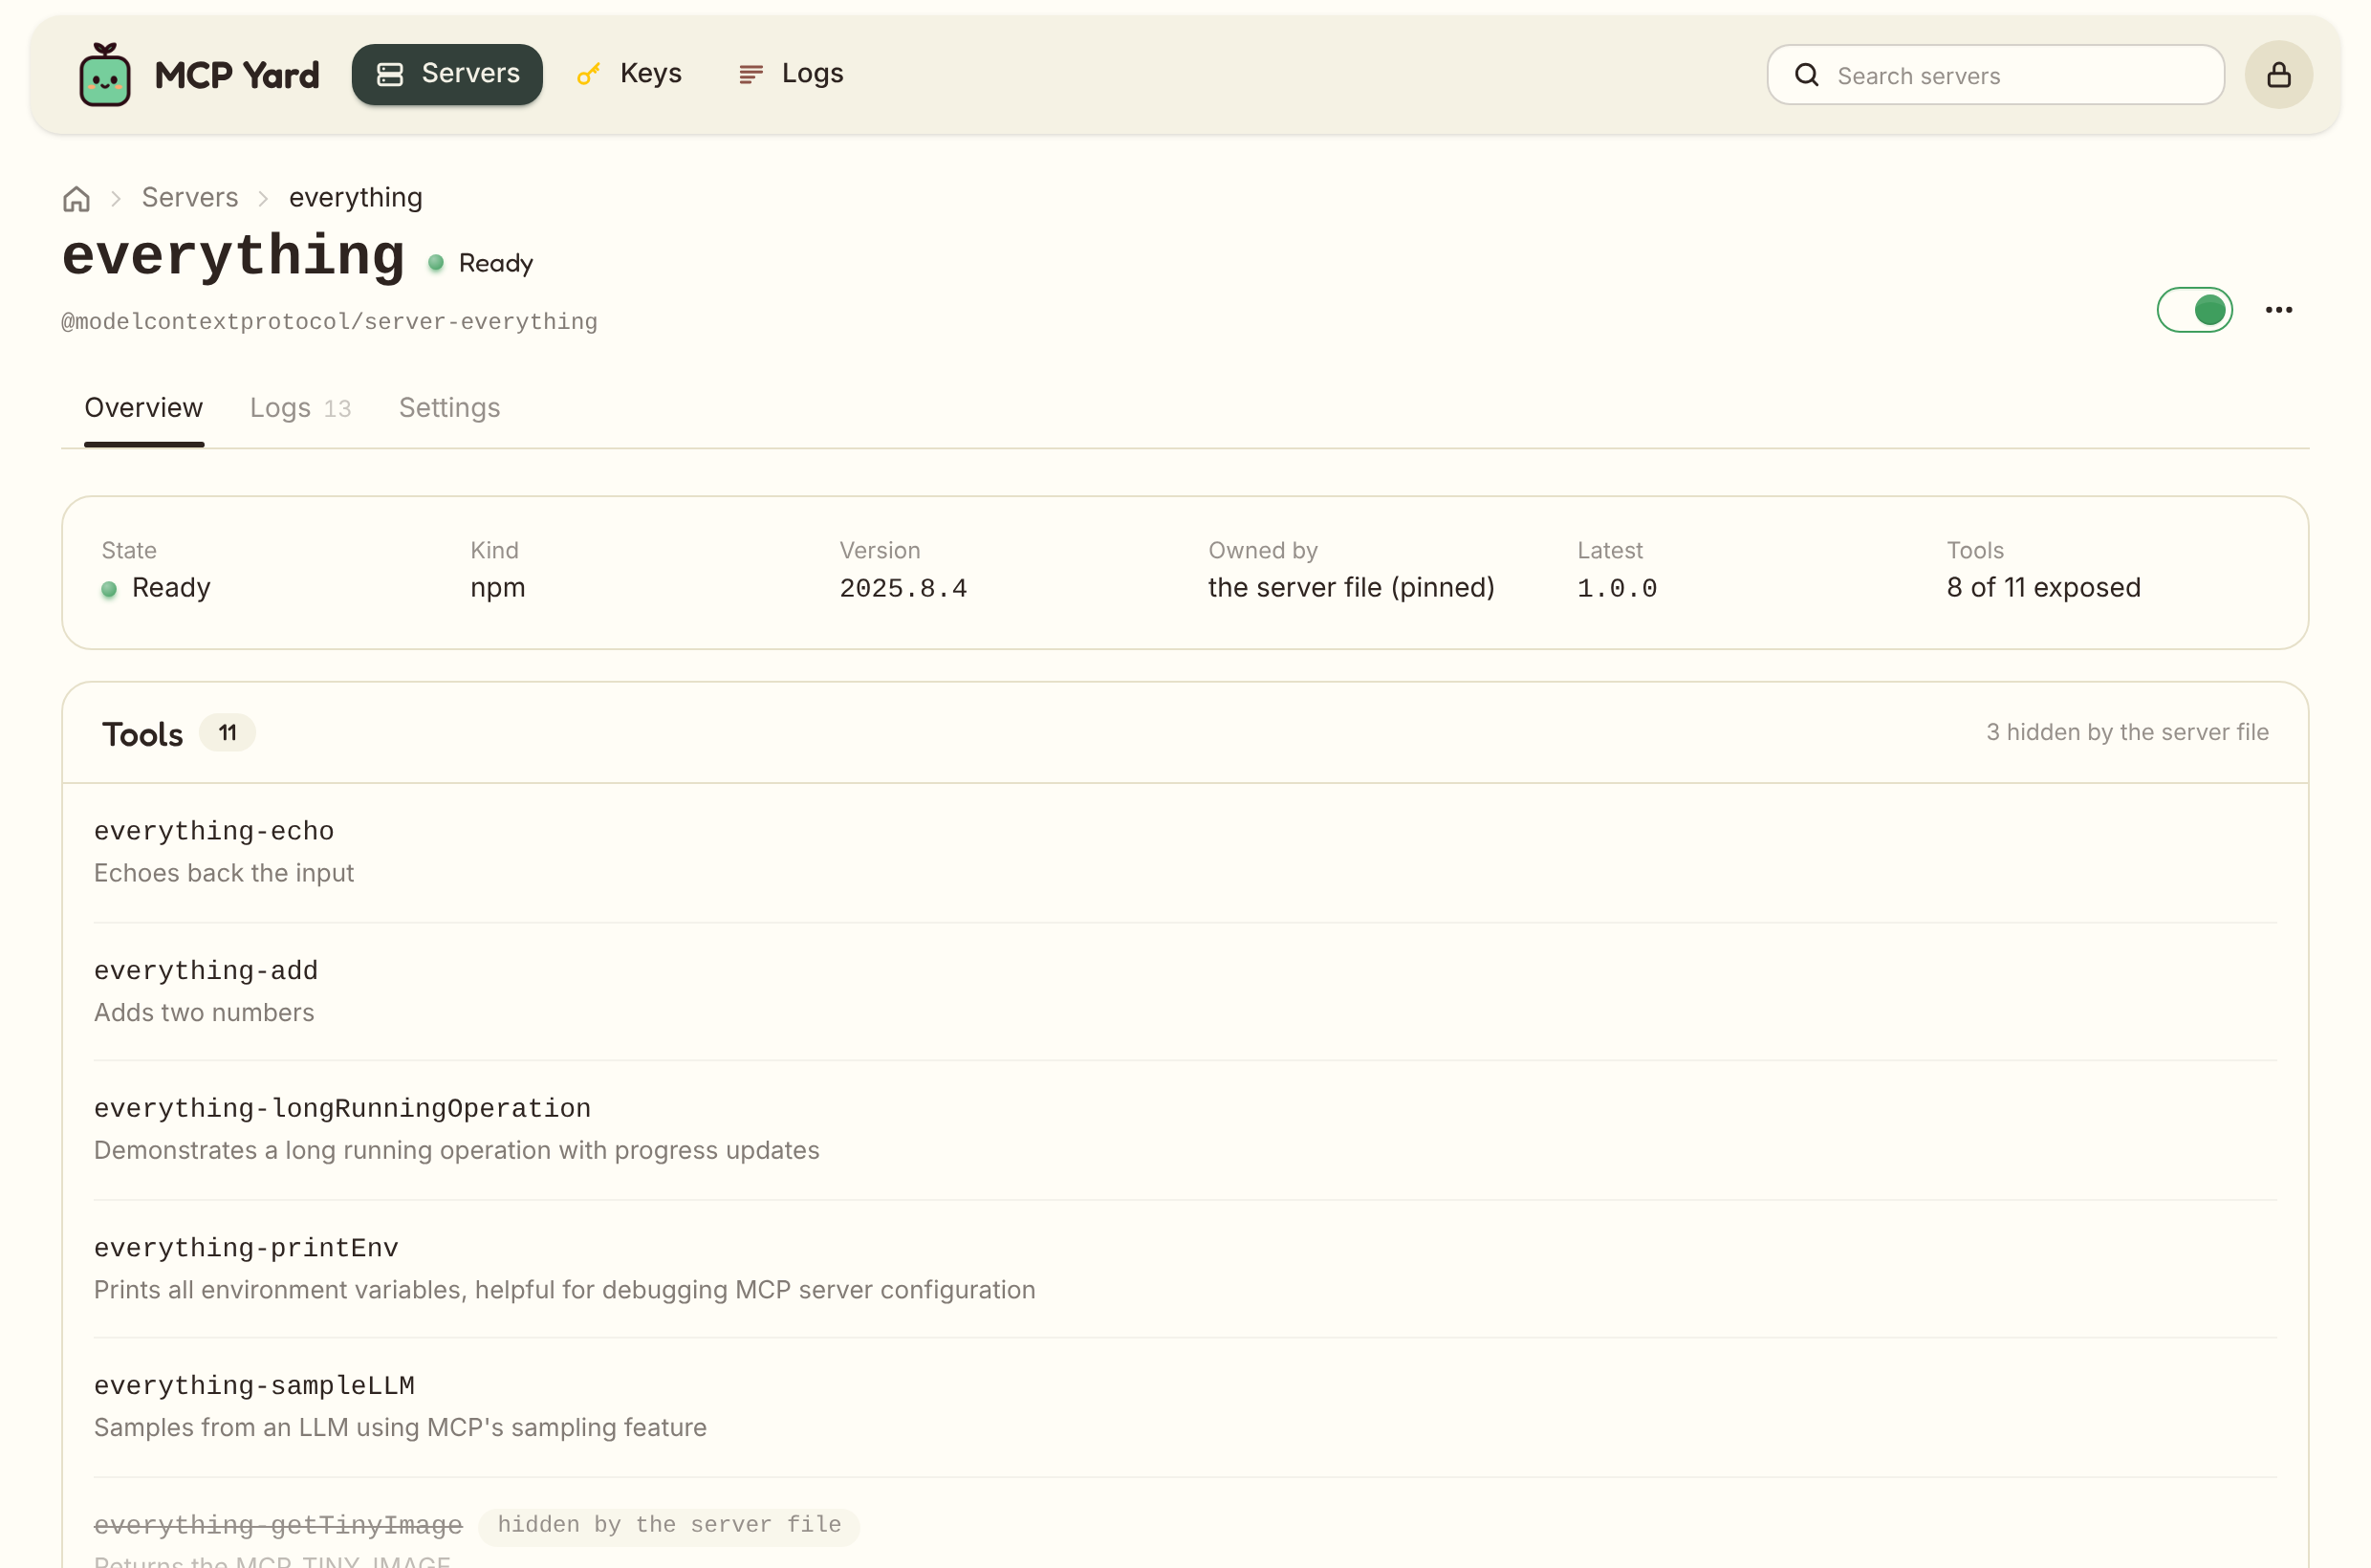
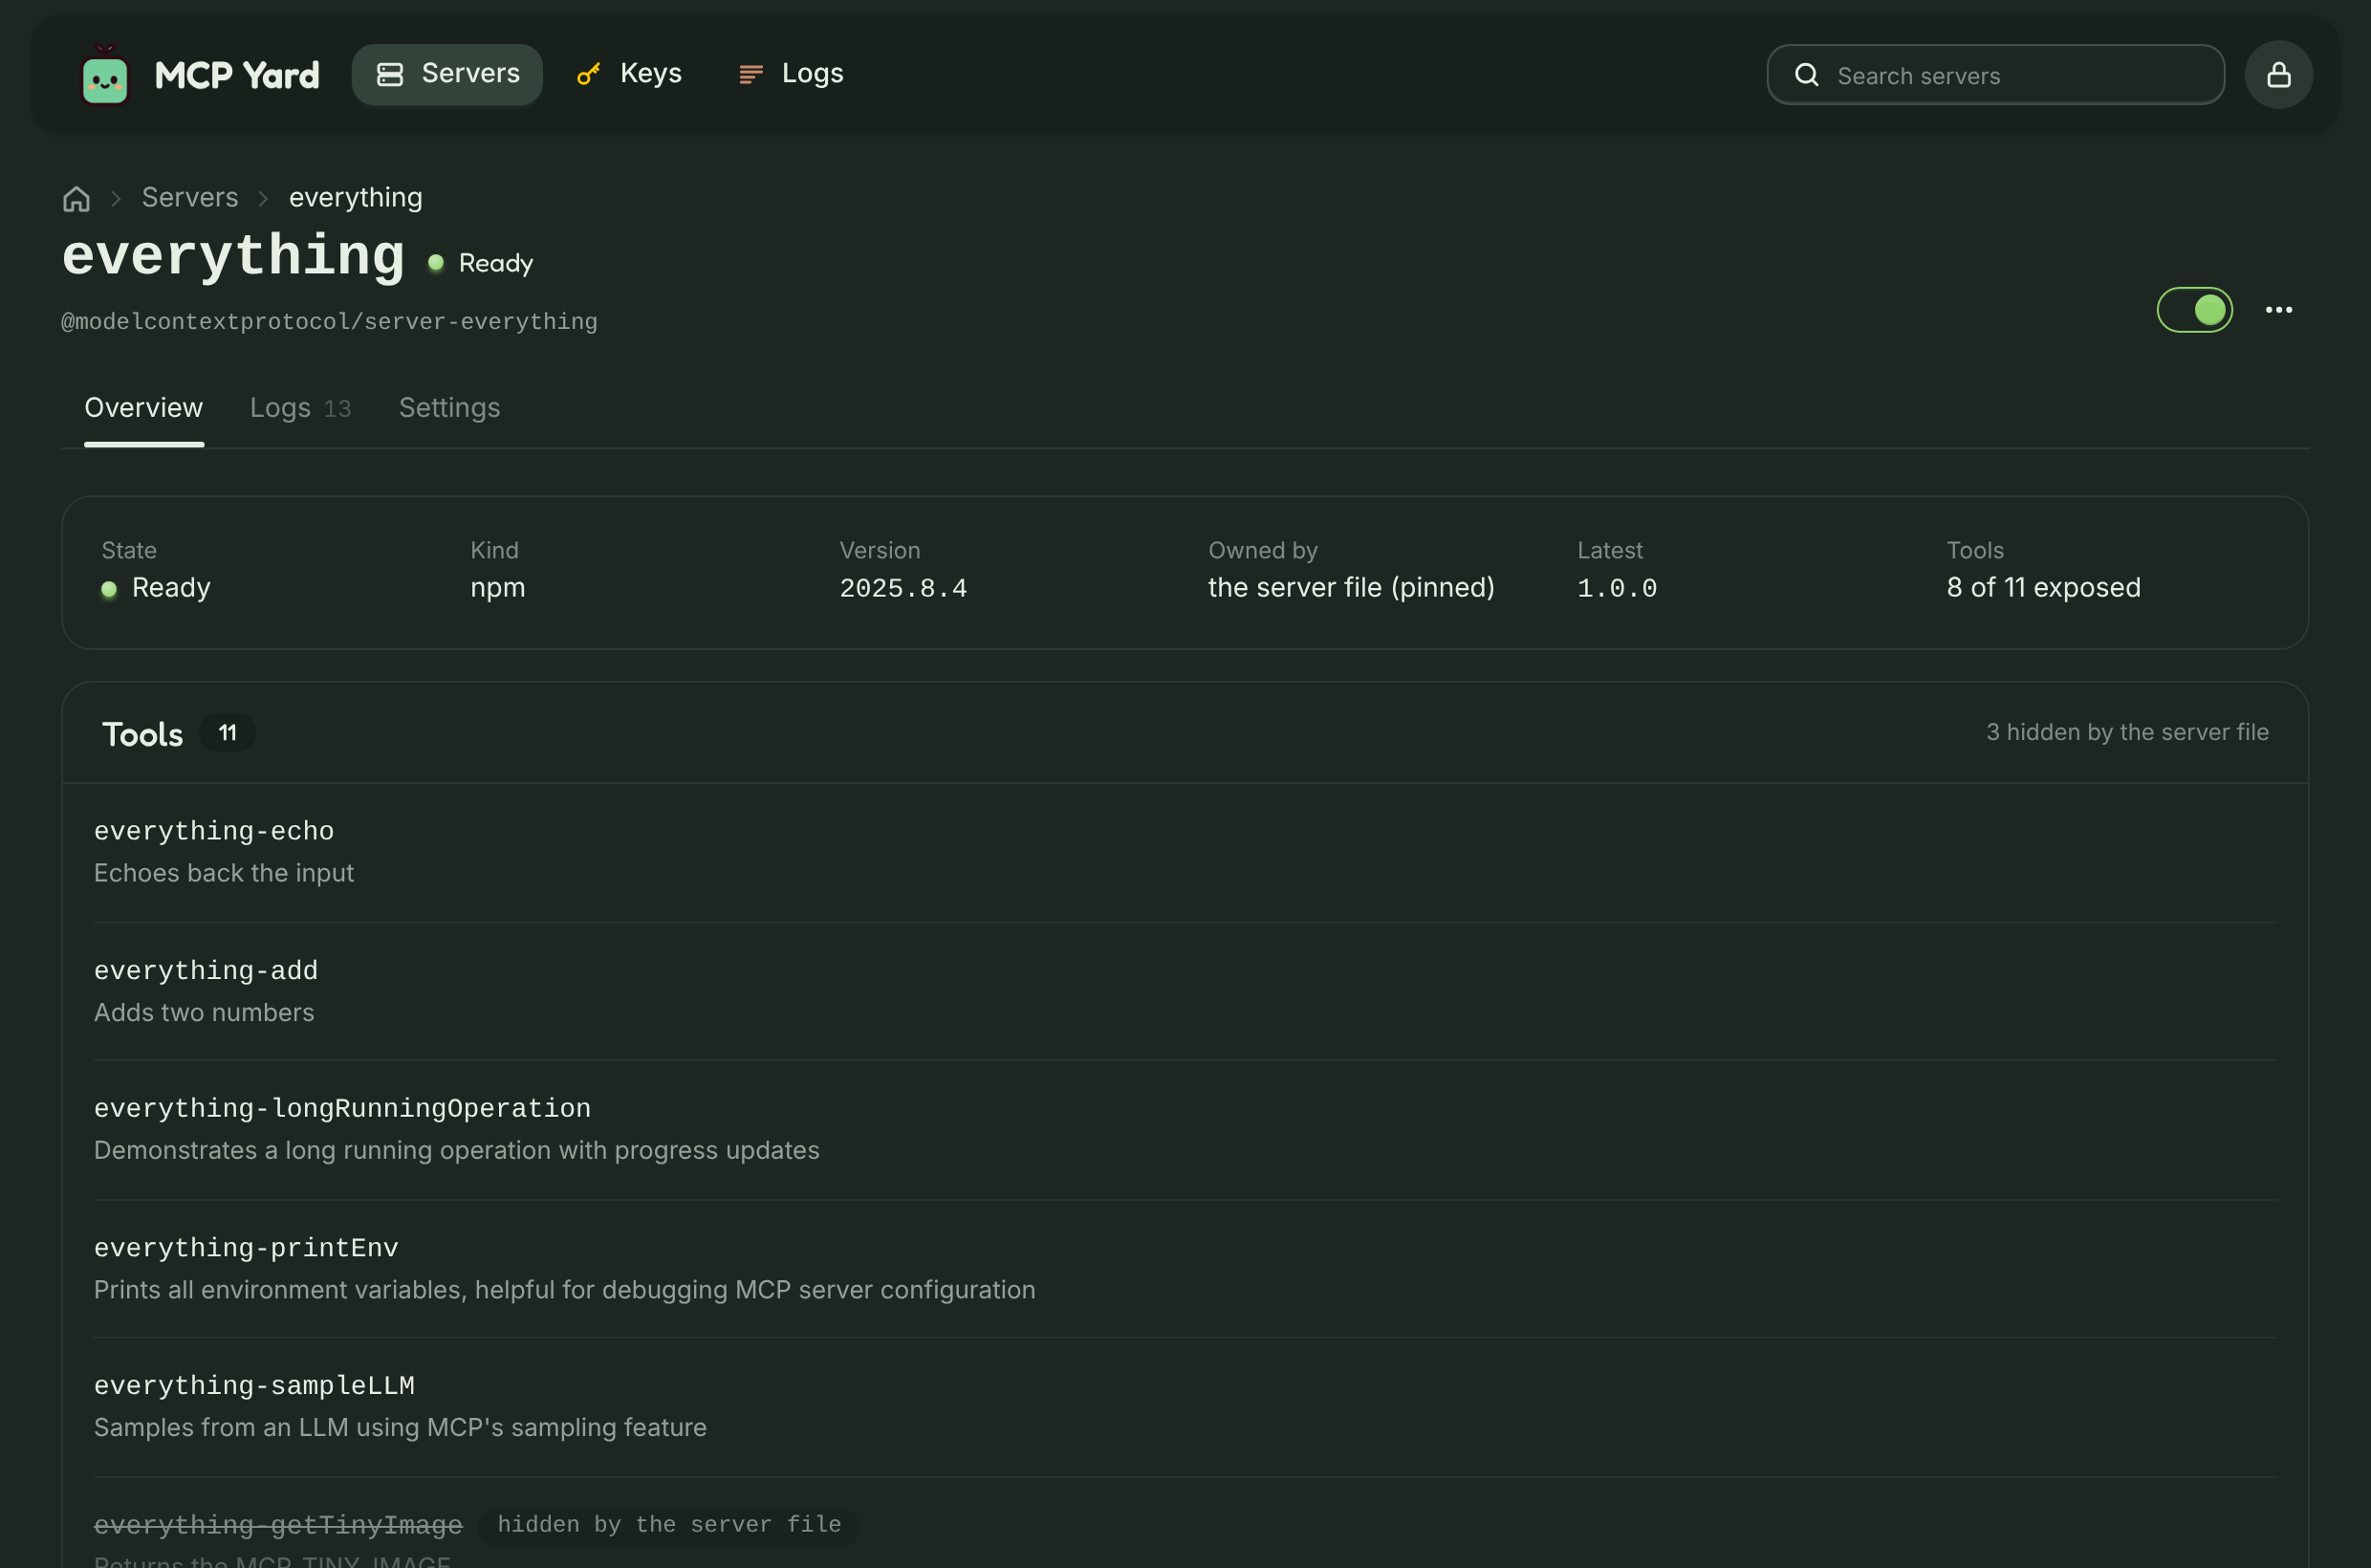
Click a server to open its own page, with three tabs: Overview (state, versions, its error or available update, and every tool with its description), Logs (that server’s lines only) and Settings (its form).
Switching a server off
Section titled “Switching a server off”The switch on each server stops it and hides its tools from every key, without touching the server
file: the choice is kept in state.json in the data directory and survives restarts and reloads.
It works when the server file is read-only. A server with enabled: false in the file shows a
padlock instead of the switch.
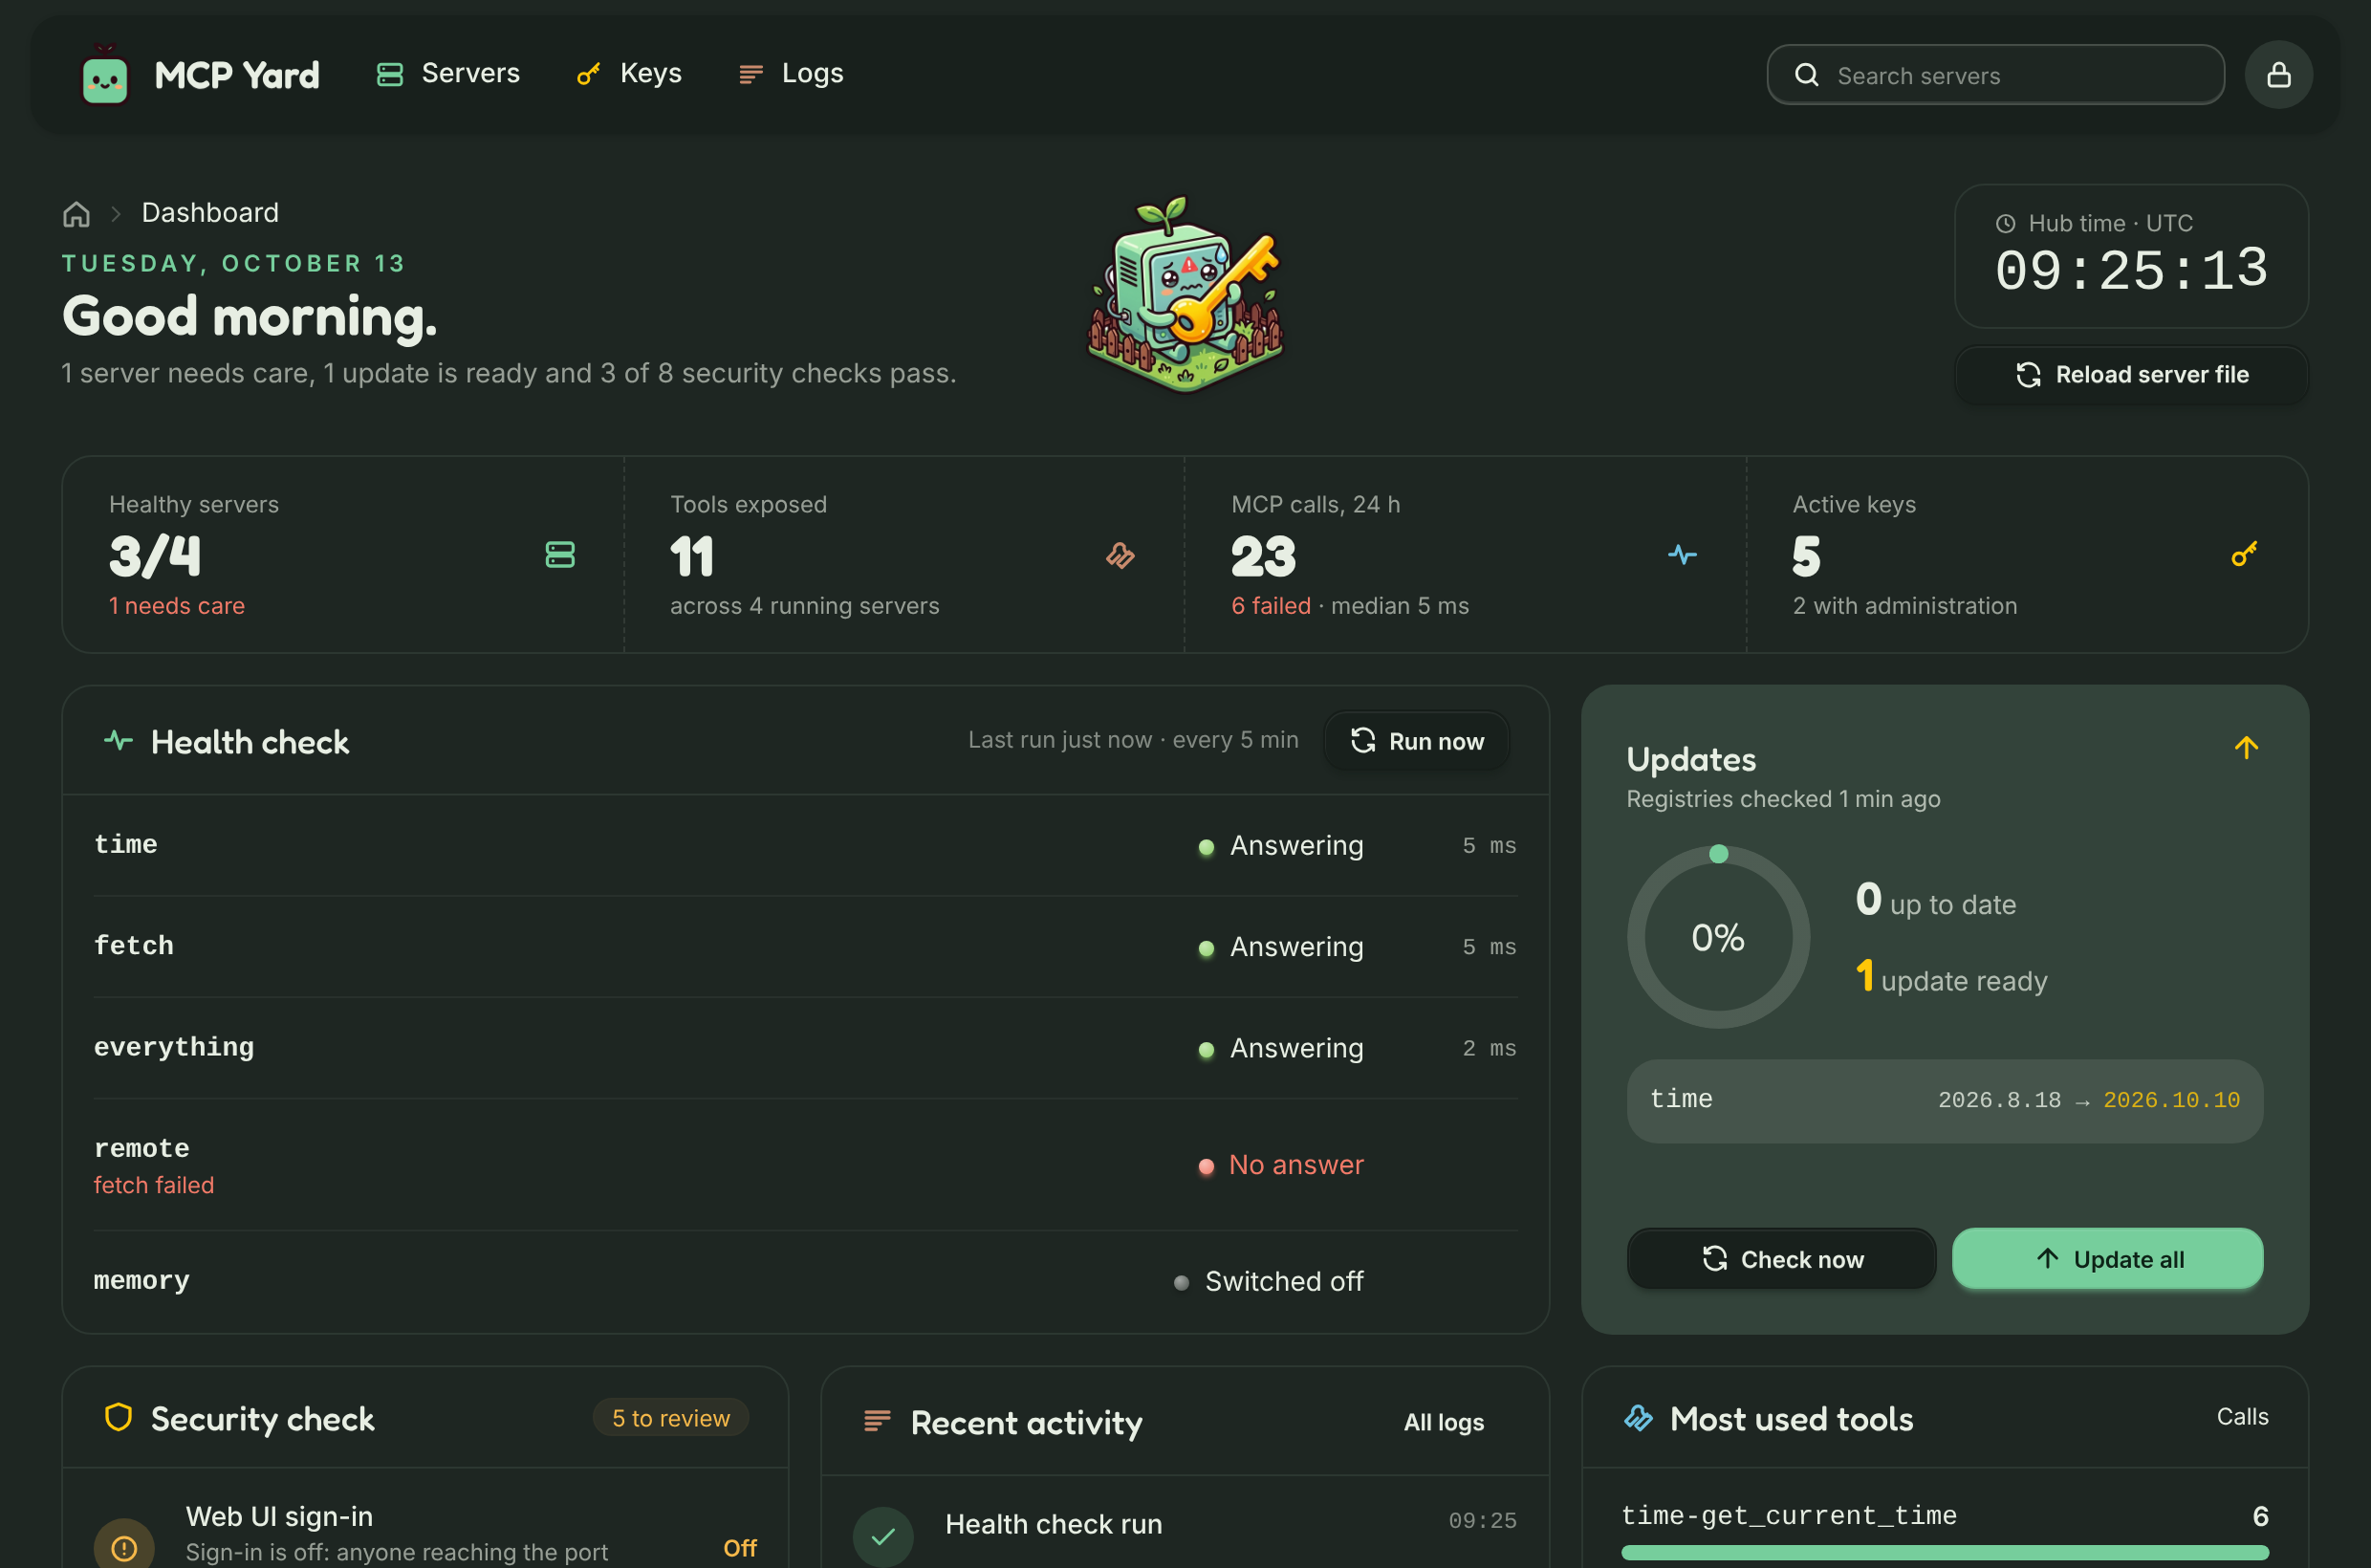
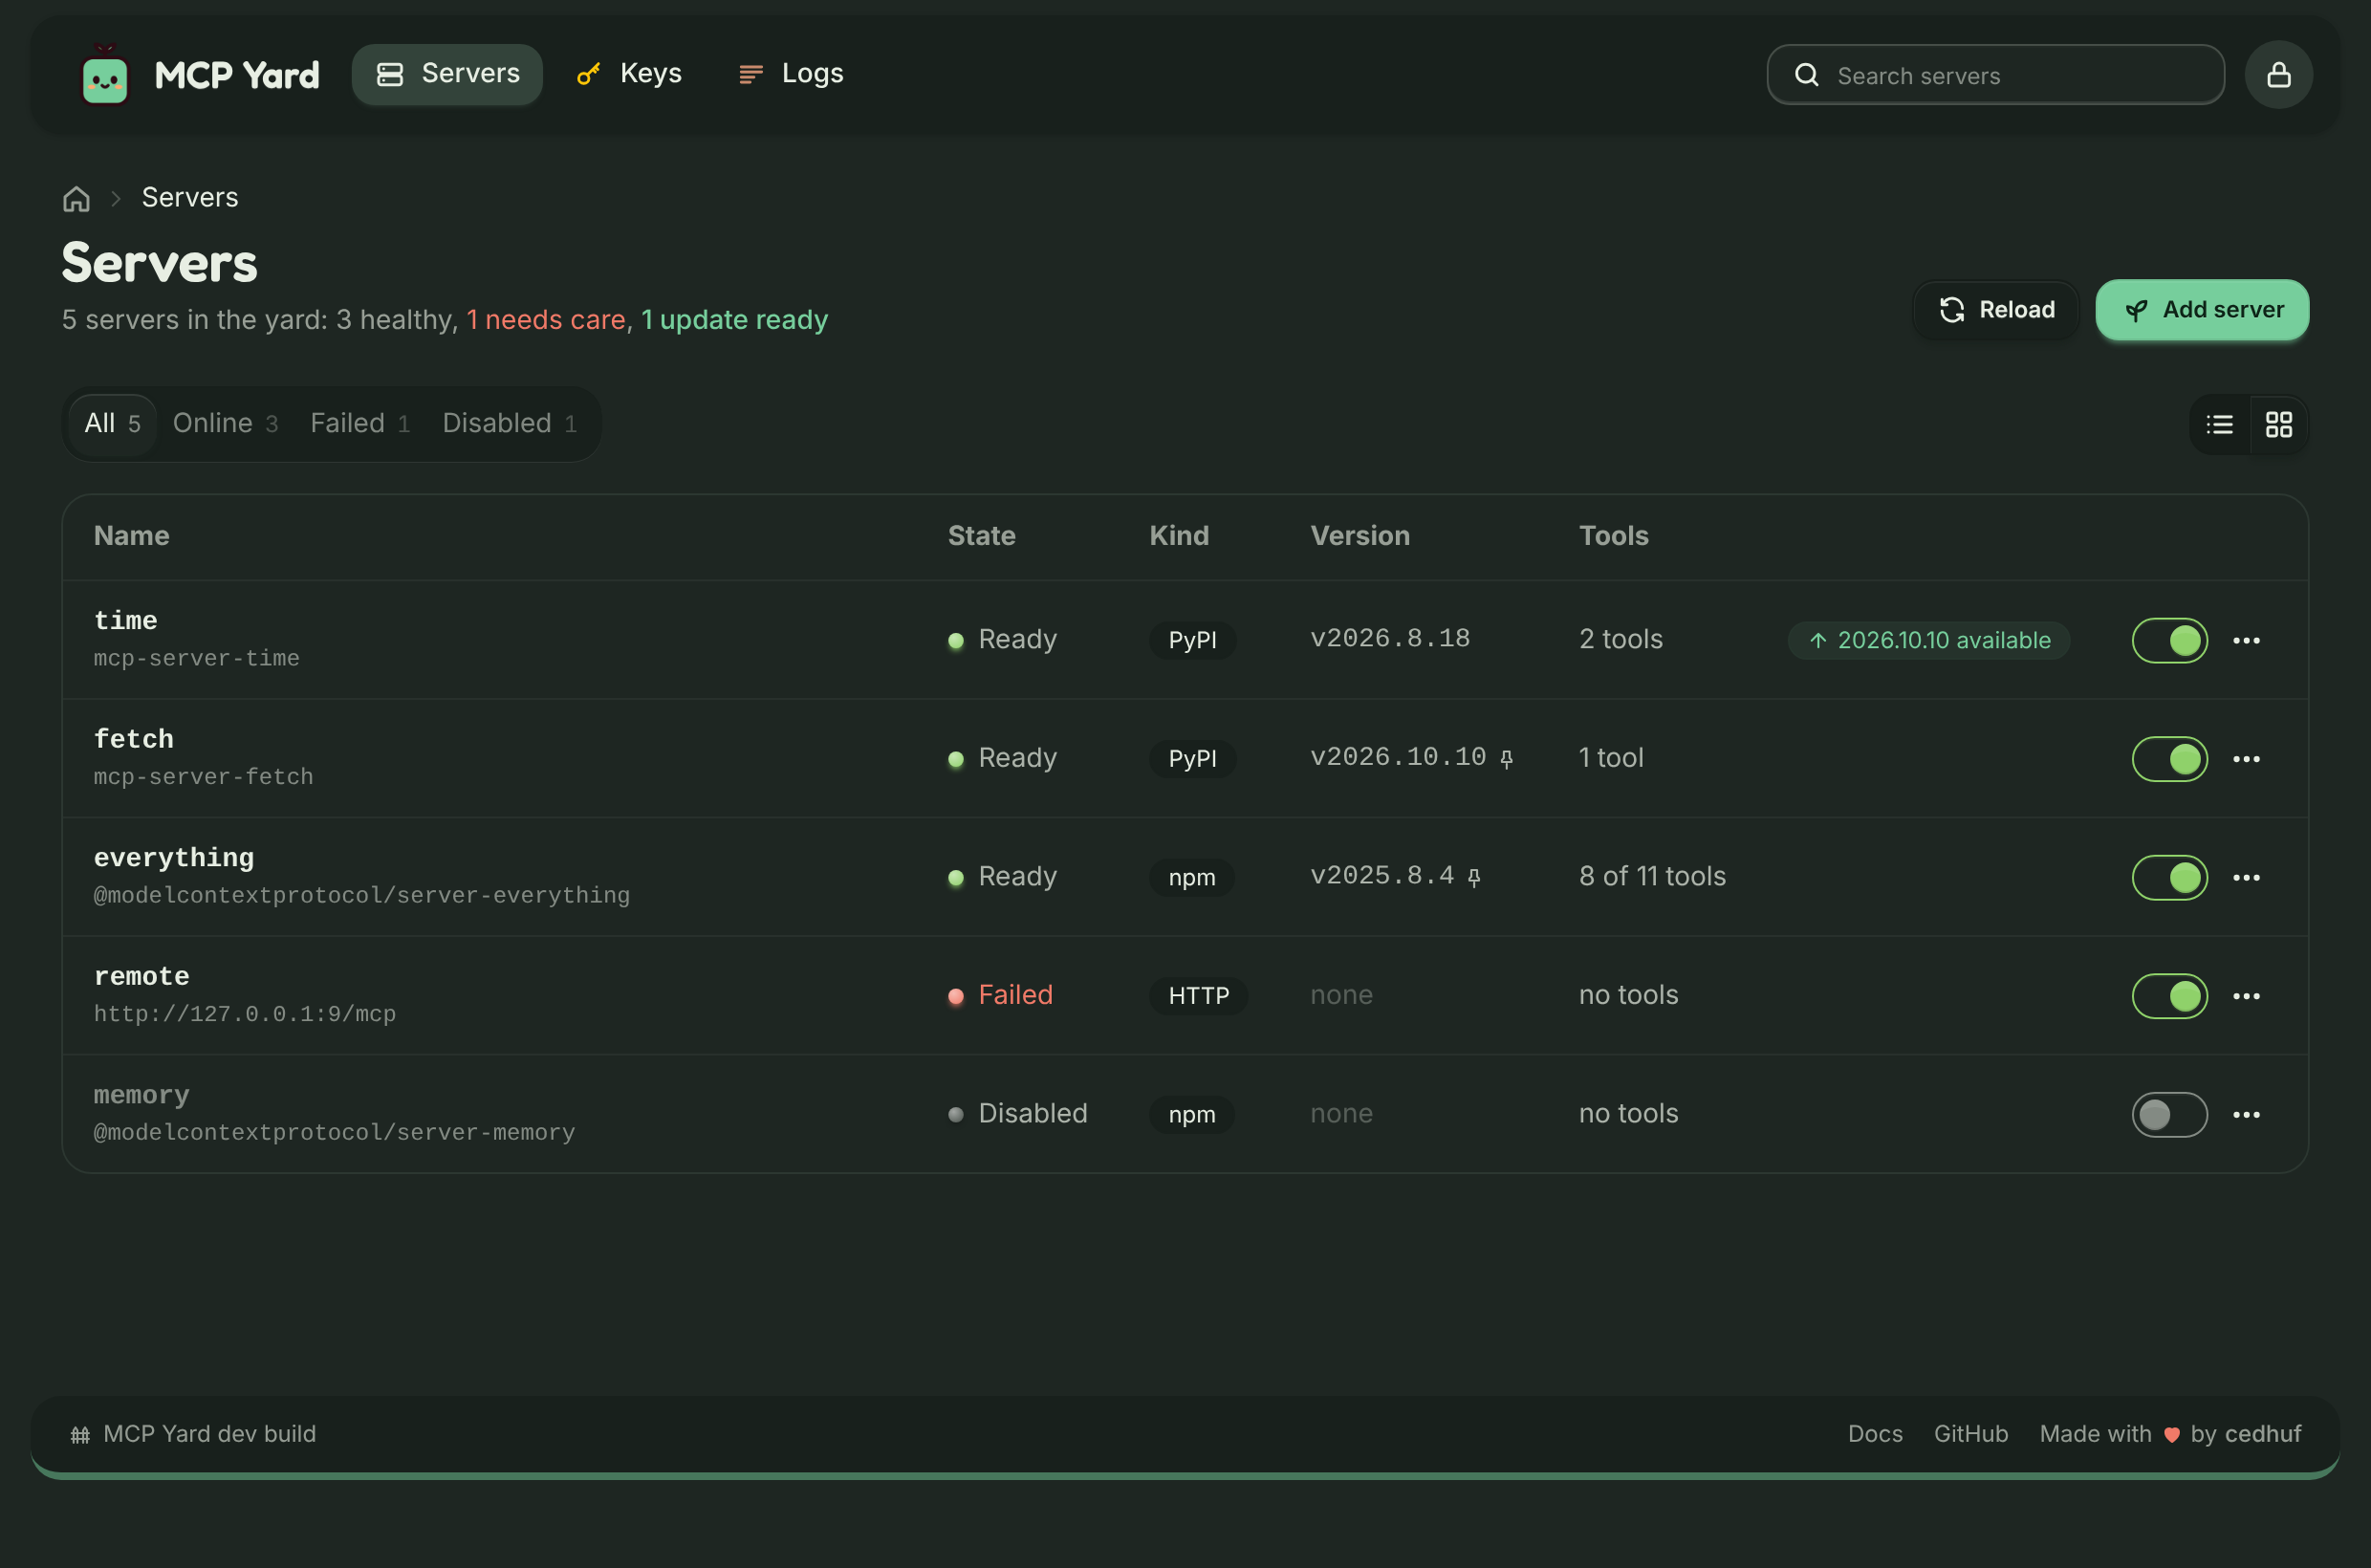
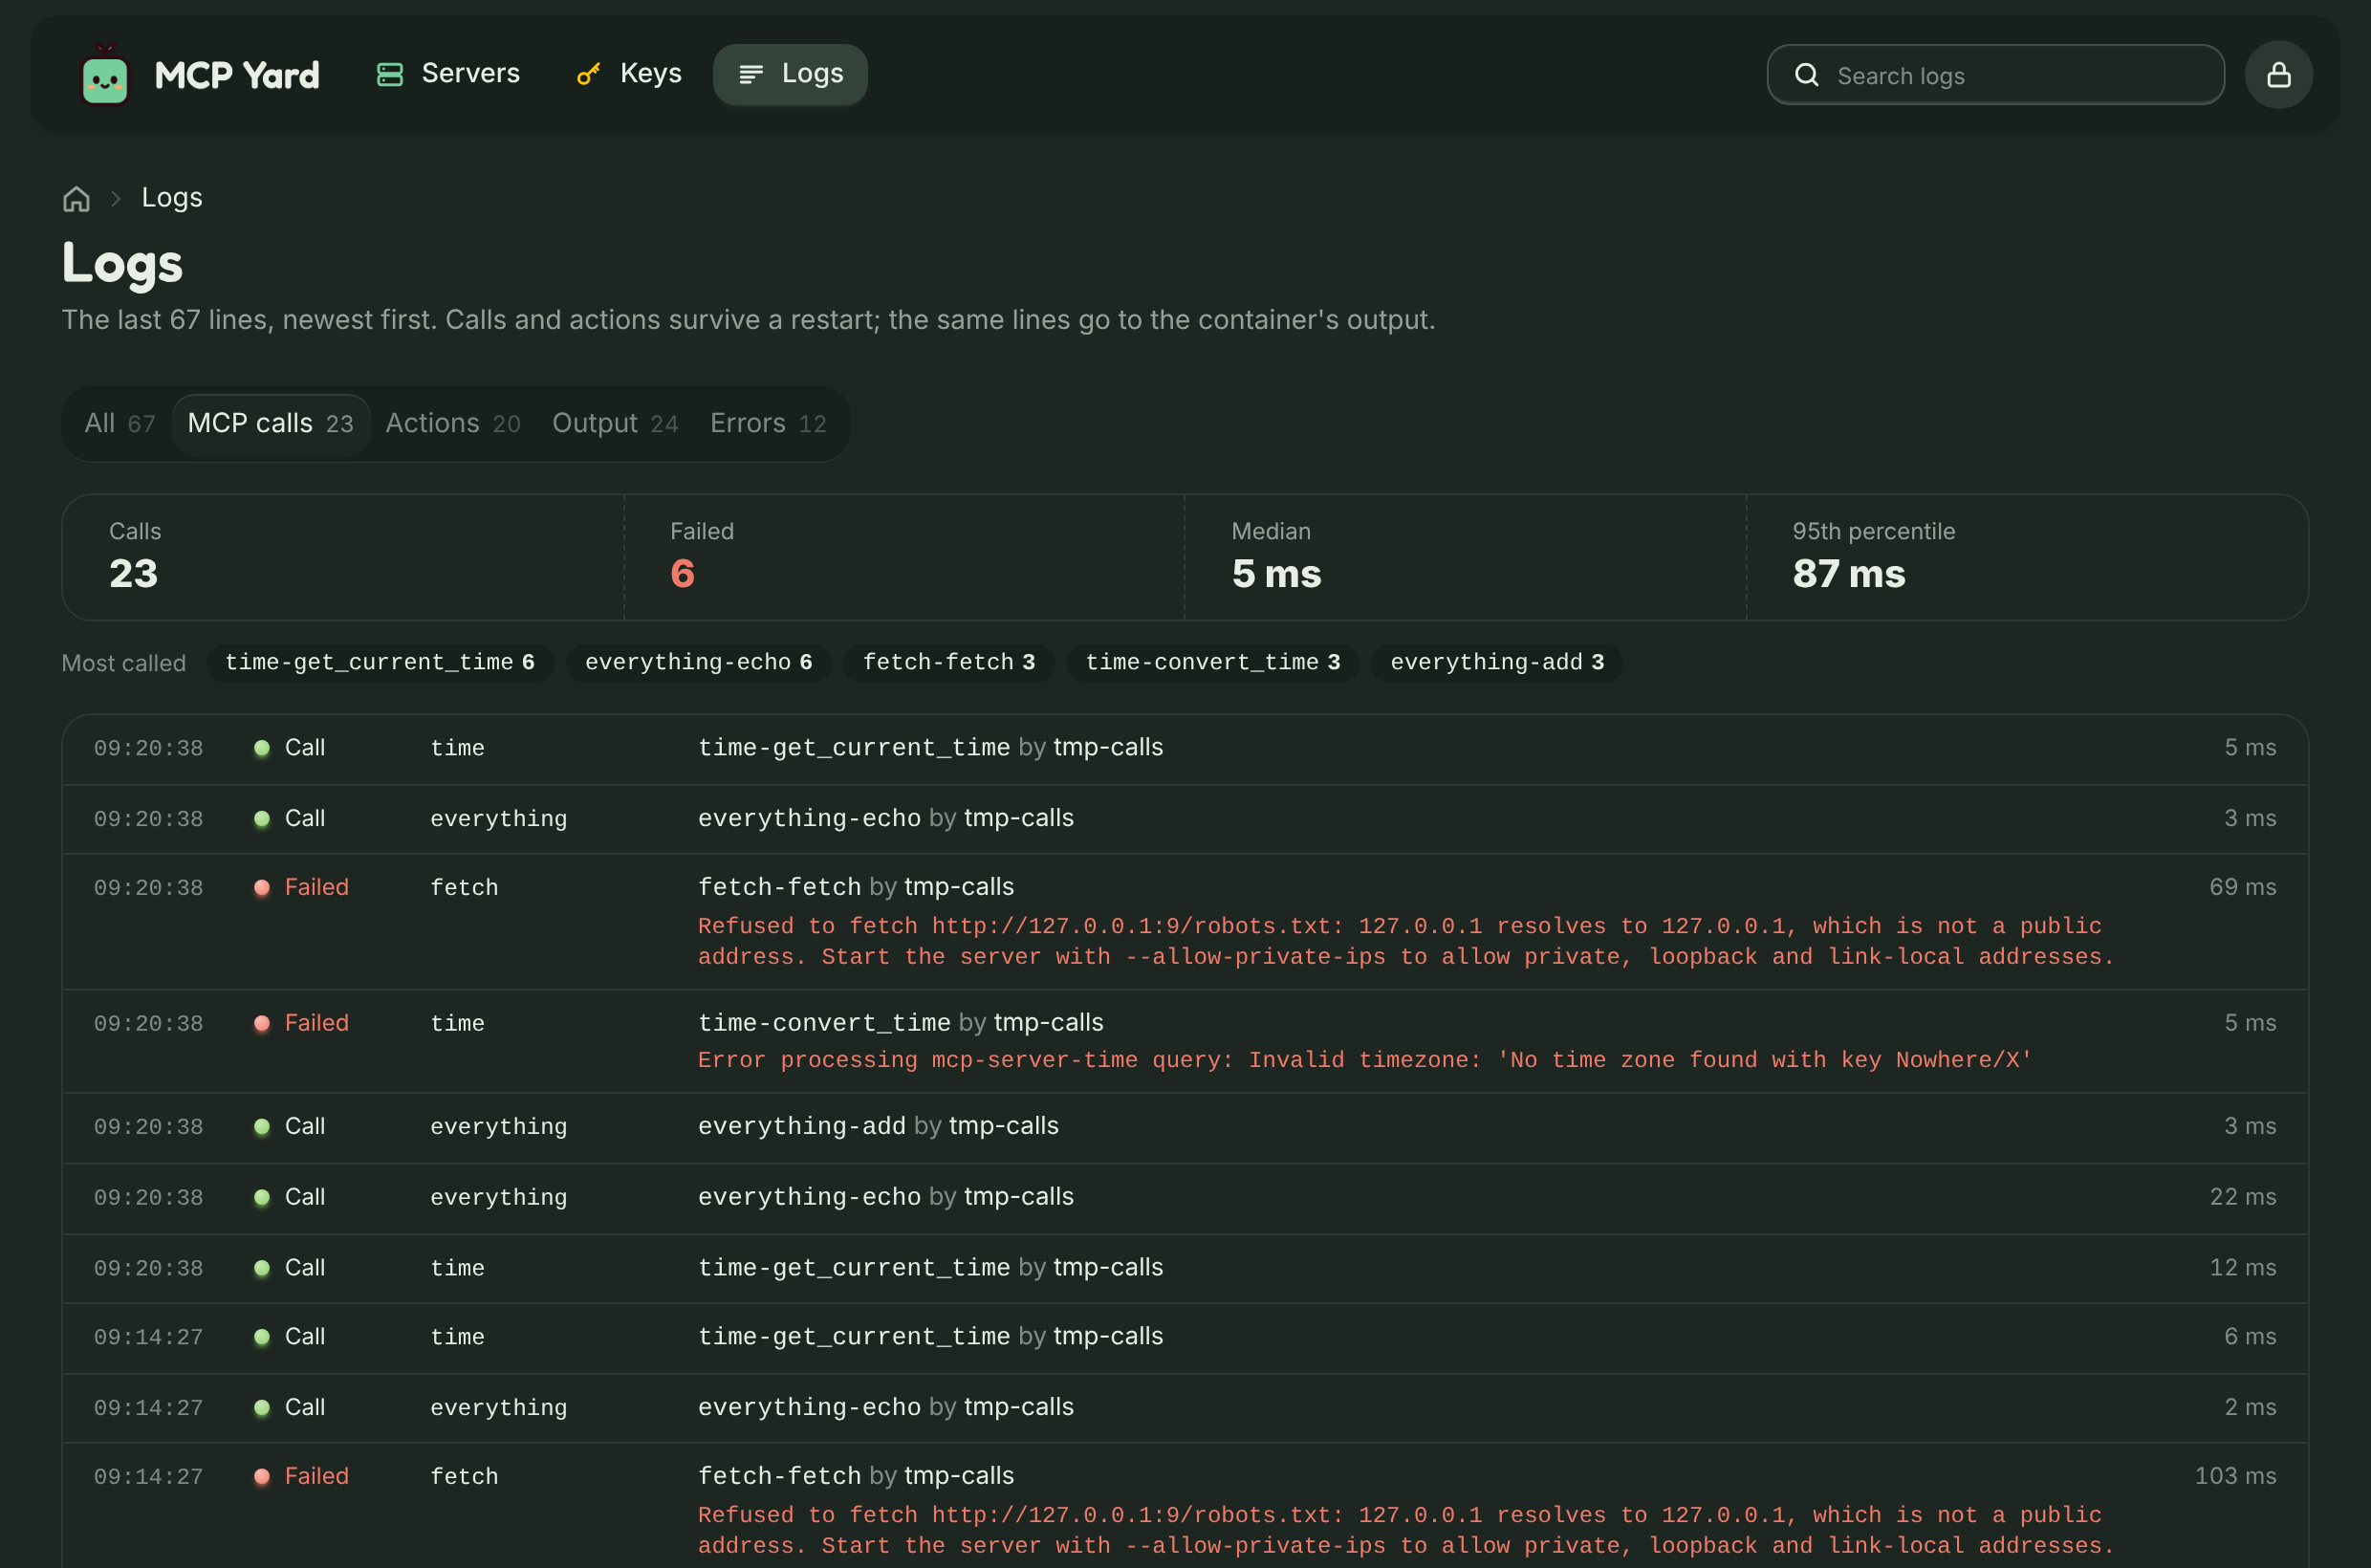
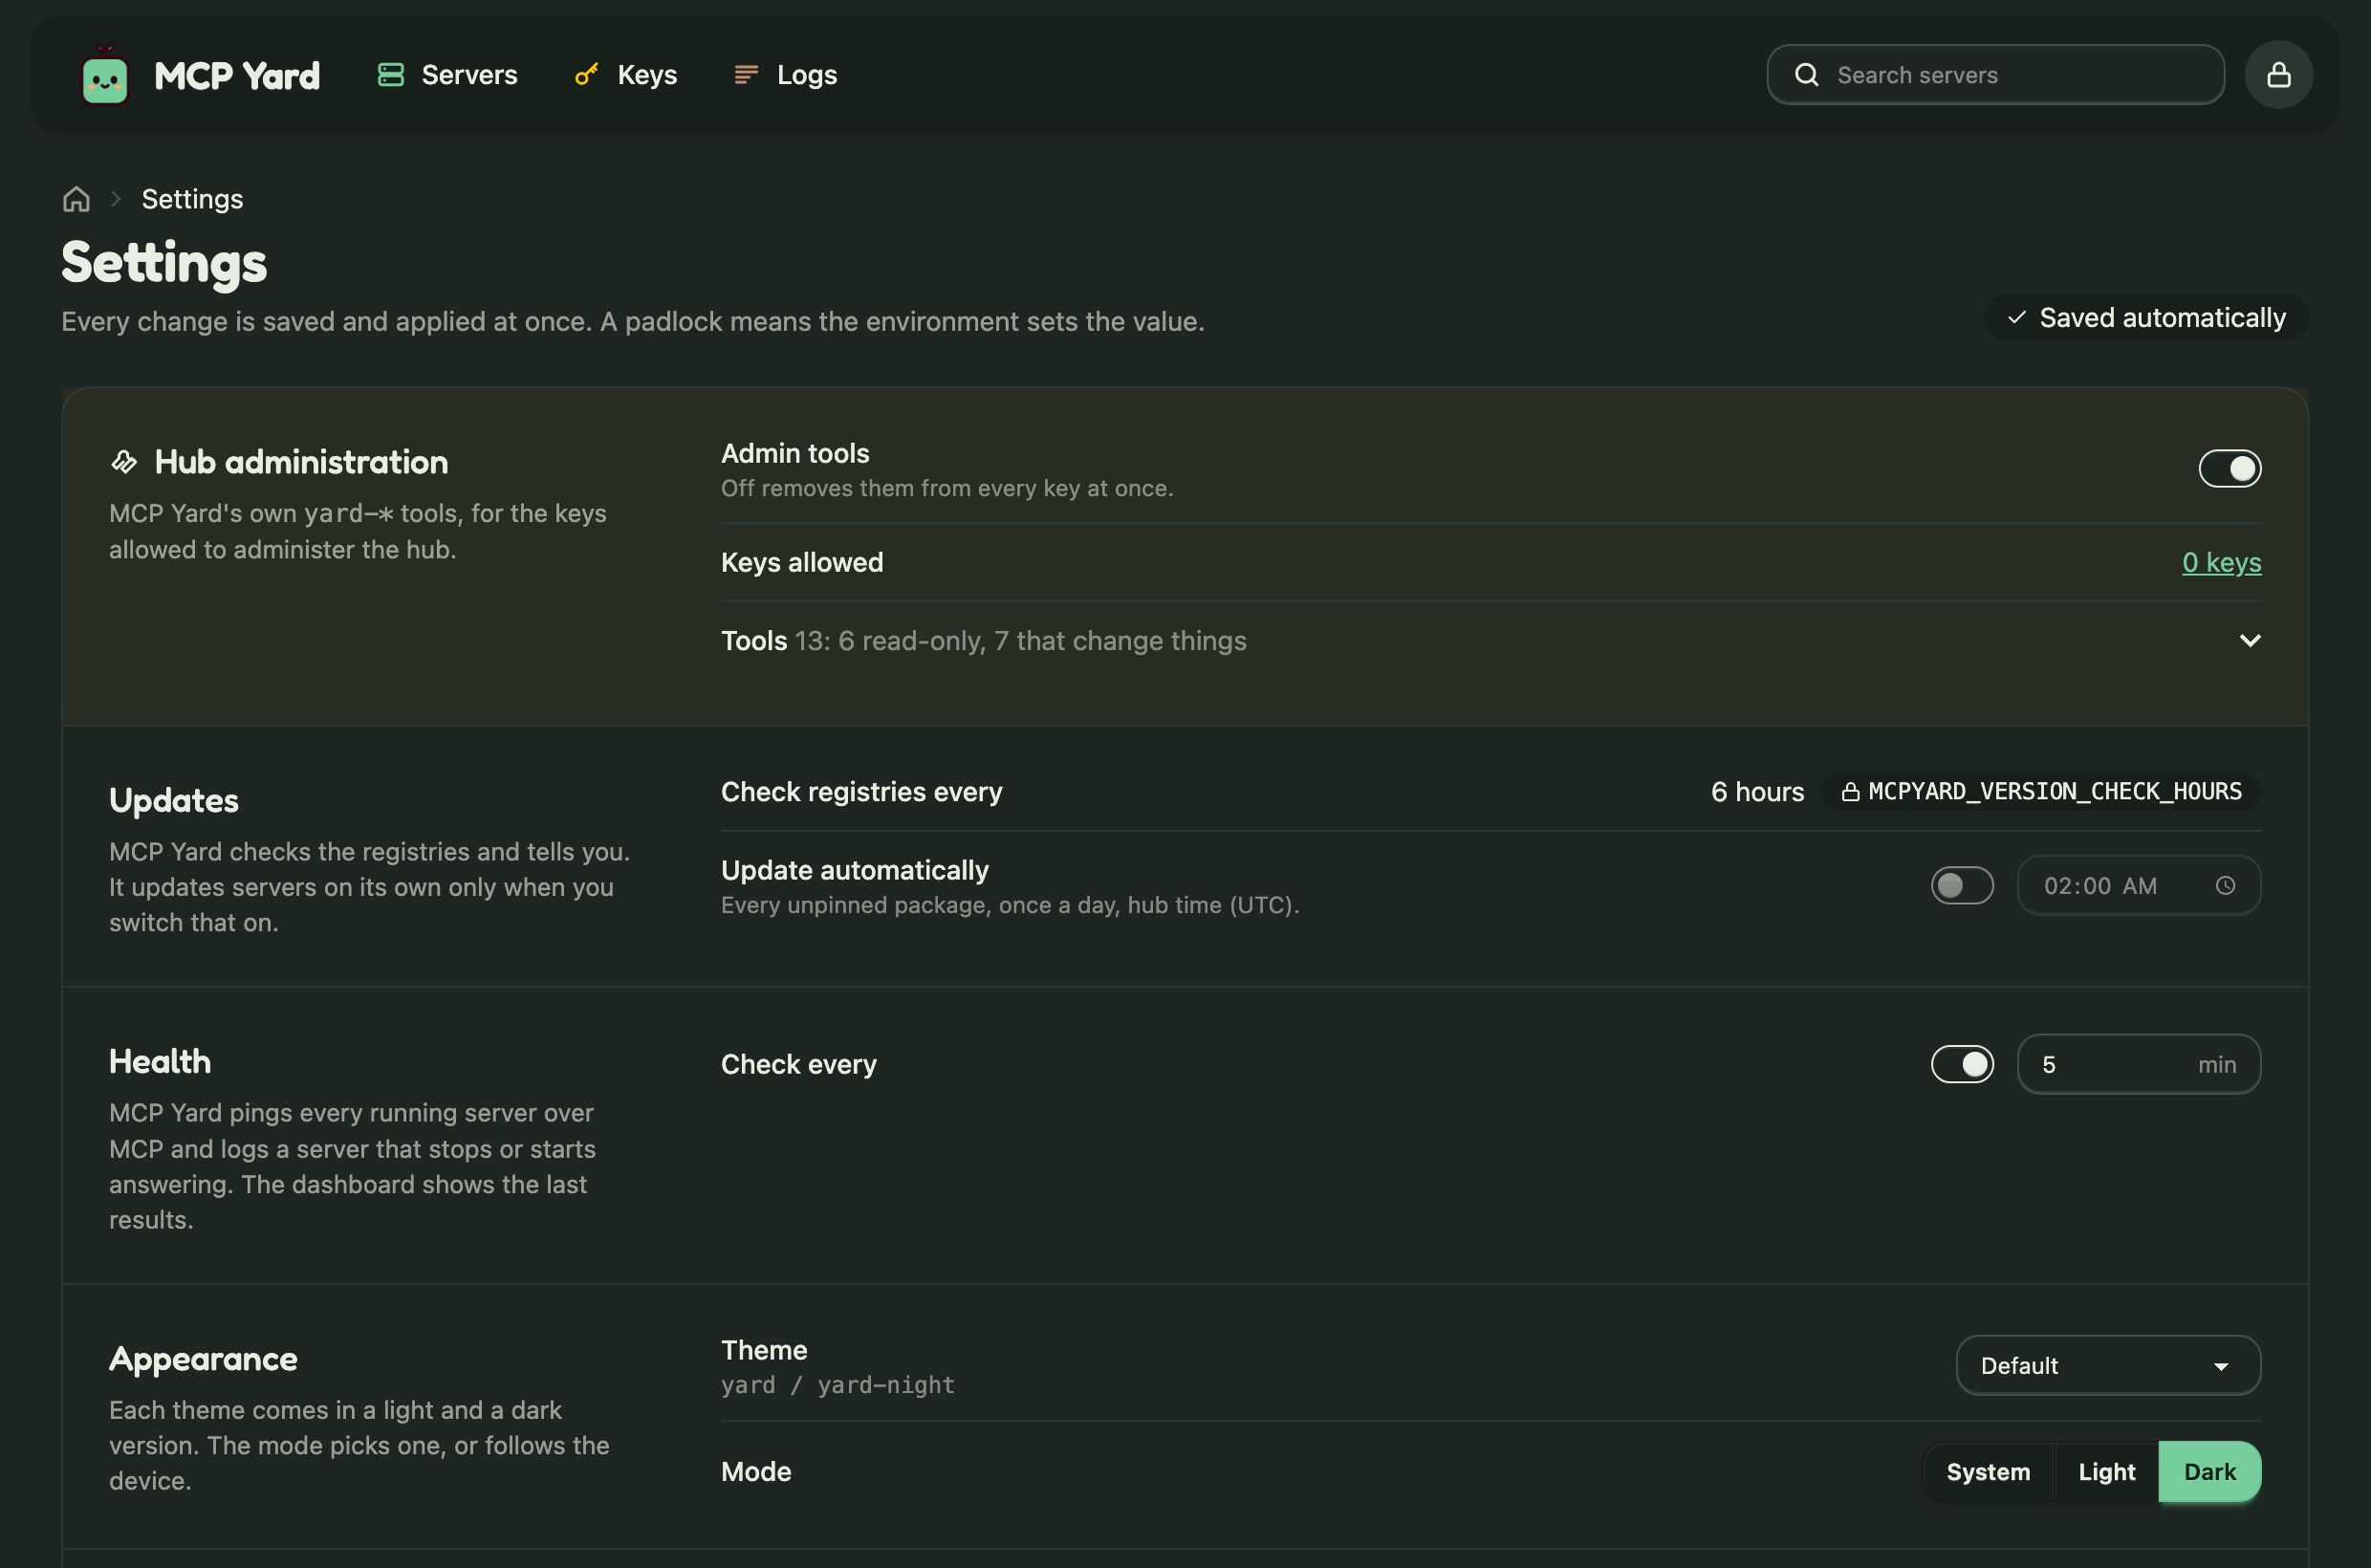
The UI is built with daisyUI on Tailwind CSS, in a light and a dark theme of its own taken from the logo, and follows your system’s light or dark mode. There is no build step: the hub compiles its stylesheet from its own source when it starts, and makes no external request: even the rounded heading font is served by the hub.
Servers from the UI
Section titled “Servers from the UI”Add server and a server’s Settings tab open a form for any kind of server: npm or PyPI package, command, or remote URL, with its arguments, environment, headers and tool filters. Saving rewrites the server file and restarts only that server.
- Comments elsewhere in the file and
${VAR}references are kept as written. - The whole file must still be valid, or nothing is written and the error is shown.
- If the file is read-only (a
:romount, or not writable by uid 1000), the forms are shown locked and the file stays yours to edit by hand; Reload applies it.
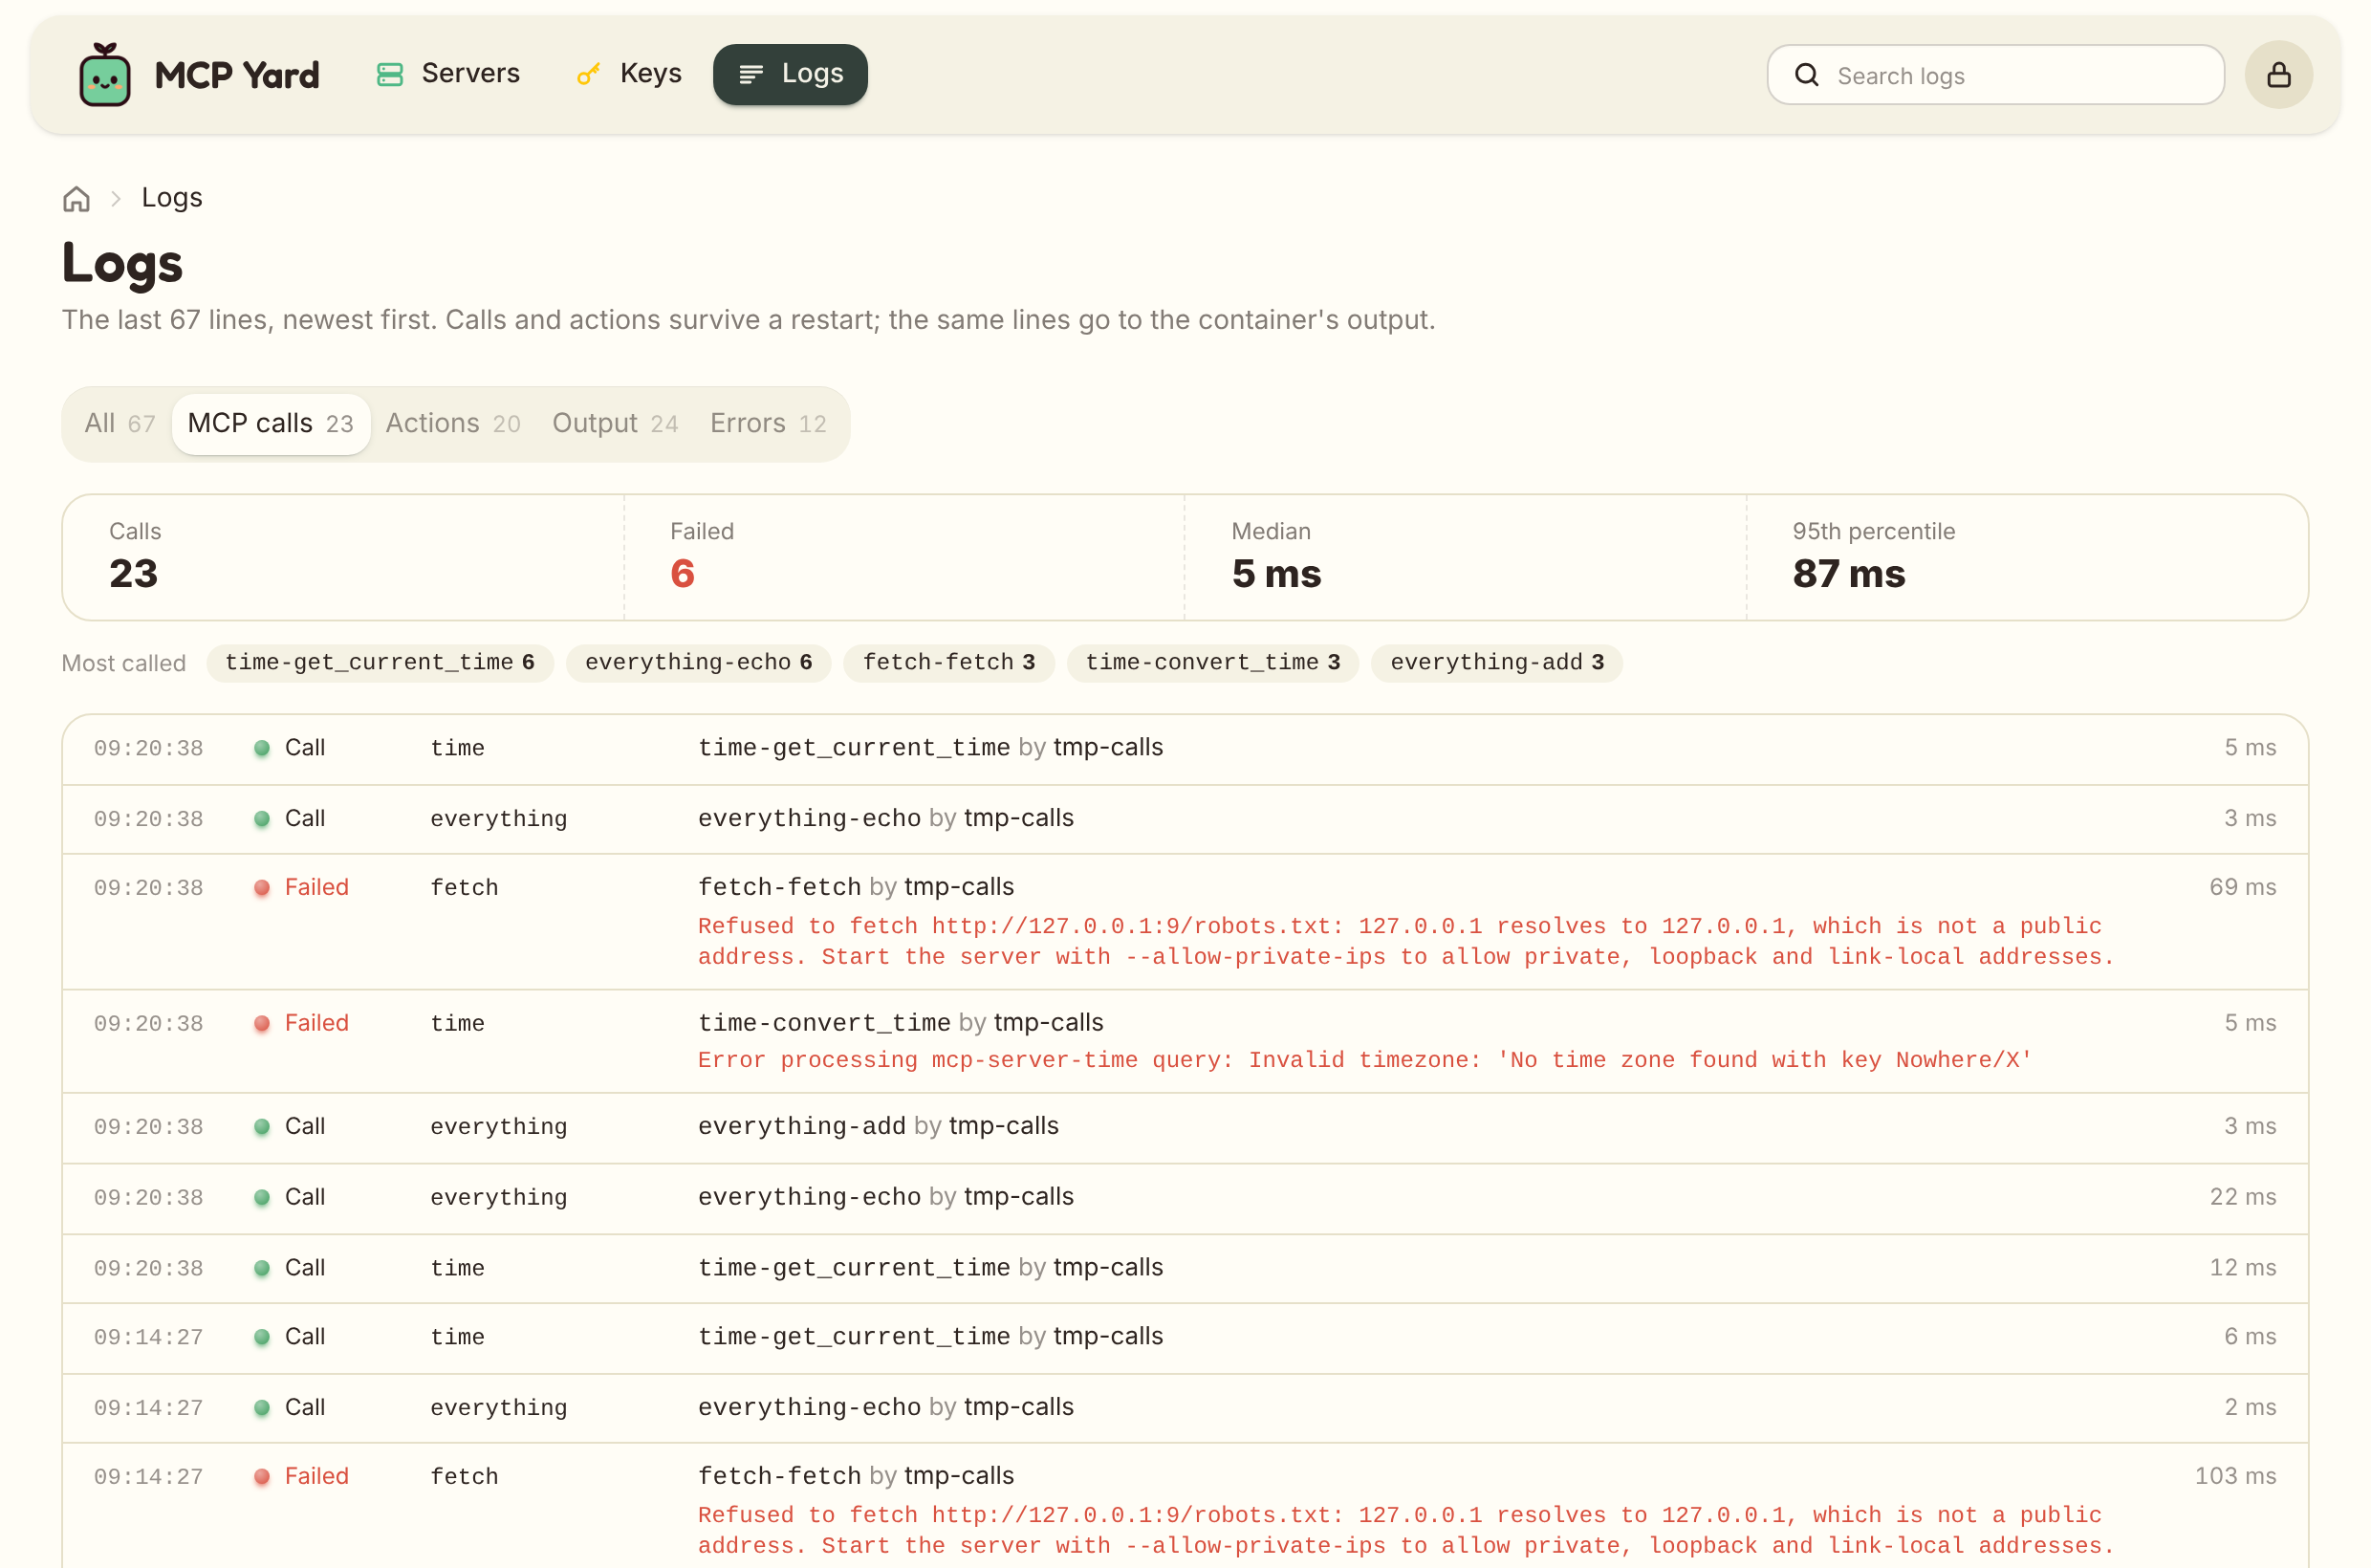
The Logs page shows the last 2000 log lines, newest first:
- MCP calls: every tool call, with its key, duration and, when it failed, the error. This tab also shows the number of calls, how many failed, the median and 95th percentile durations, and the most called tools.
- Actions: what was done from the web UI, and by whom.
- Output: what the servers write on stderr, their state changes, and the hub’s own messages.
- Errors: everything that failed, whatever its kind.
Click a server name to see only its lines; on this page the search field in the top bar matches
tools, keys and messages as you type. The same lines go to the container’s output, so docker logs
and your log shipper see them too. MCP calls and actions are also kept in
$MCPYARD_DATA_DIR/activity.json, so the dashboard and this page survive a restart; servers’ output
starts afresh.
Settings
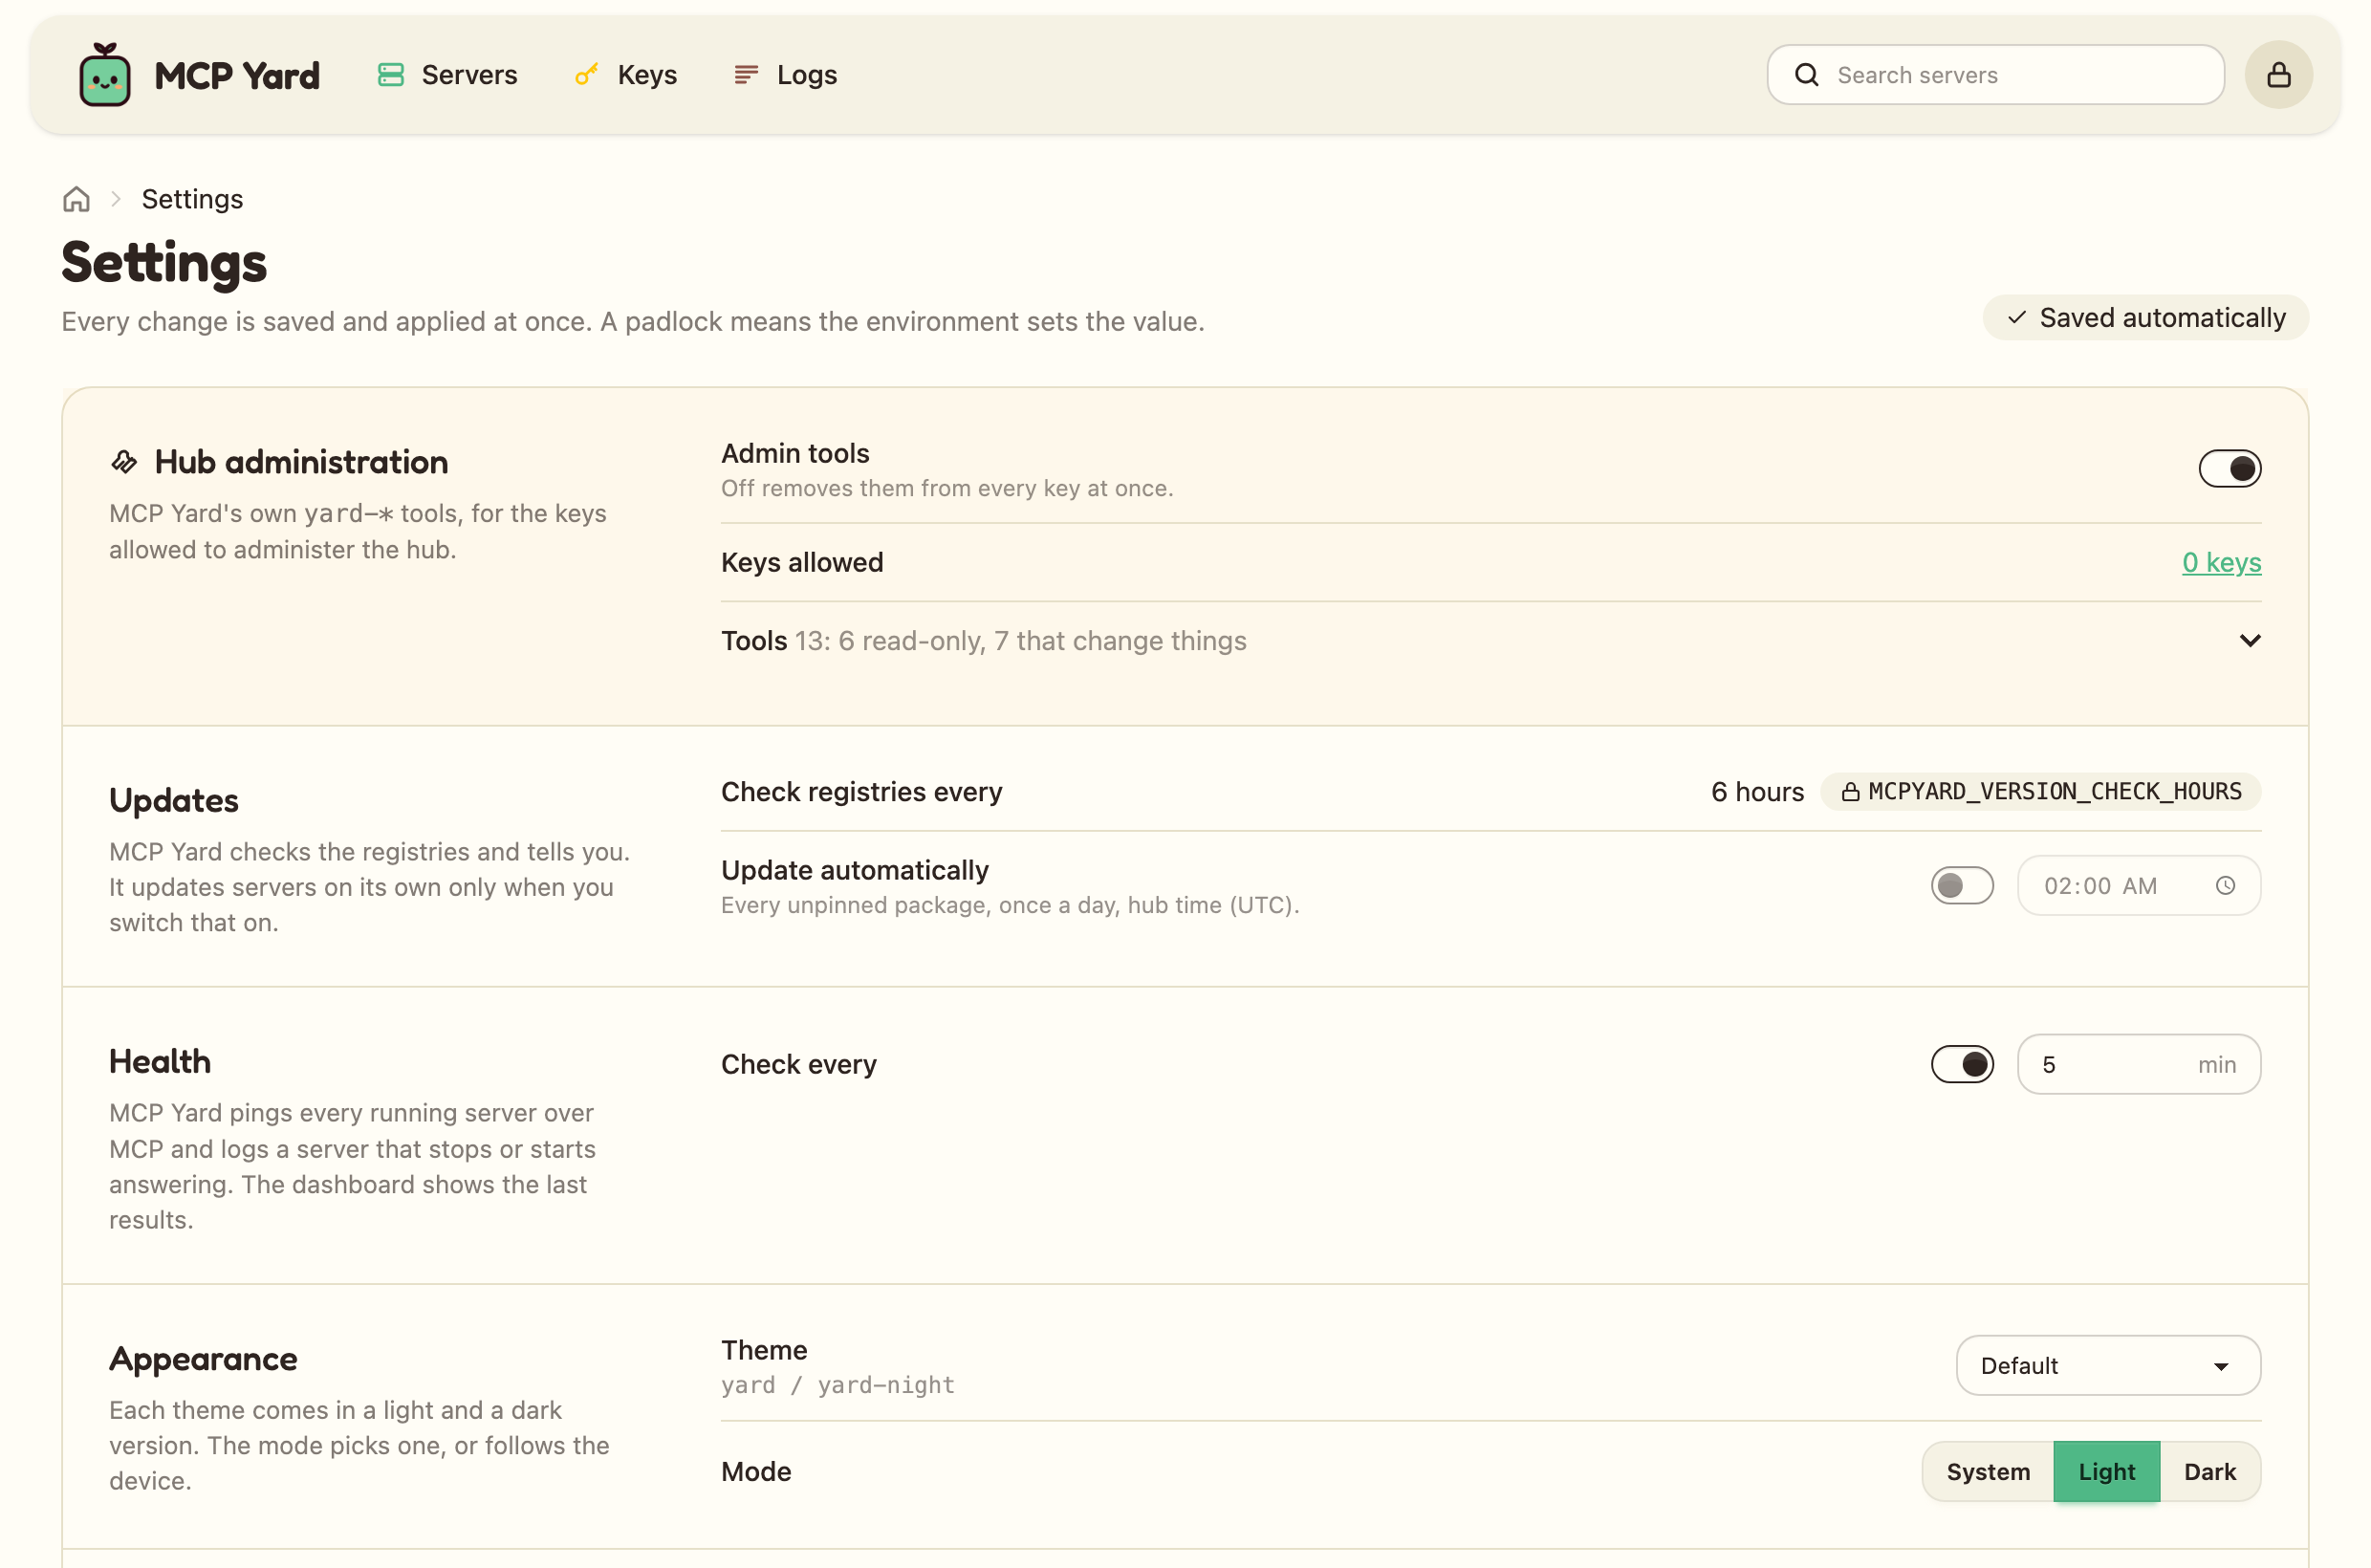
Section titled “Settings”The Settings page gathers what is not a server or a key. Every change is saved and applied as soon as it is made; there is no save button.
- Hub administration: the
yard-*tools on or off for every key, and how many keys may use them. - Updates: how often registries are checked, and a switch with a time for the nightly updates, off by default (see Packages).
- Health: a switch and how often every running server is pinged, every 5 minutes by default.
- Appearance: a theme and a mode. Default is MCP Yard’s own, drawn from the logo; Neutral, Ocean, Coffee, Nordic and Pro pair daisyUI themes. Each has a light and a dark version, and the mode follows the system or forces one.
- About: the running version and the latest release on GitHub. The footer also shows the
version, and links to the release notes when a newer one exists. The hub never updates
itself; turn the check off here or with
MCPYARD_UPDATE_CHECK=false. - Environment: every startup variable with its value, behind a padlock. Secrets are masked.
A setting whose environment variable is set shows a padlock and cannot be changed from the page: the environment always wins.
Sign-in with OpenID Connect
Section titled “Sign-in with OpenID Connect”There is no local password. The UI signs you in through your identity provider with the authorization code flow and PKCE, and verifies the ID token’s signature, issuer, audience, expiry and nonce.
MCPYARD_PUBLIC_URL=https://mcpyard.example.lanOIDC_ISSUER=https://id.example.lanOIDC_CLIENT_ID=mcpyardOIDC_CLIENT_SECRET=...OIDC_ALLOWED_GROUPS=mcpyard-admins # optionalIn your provider, register a client with:
- Redirect URI:
<MCPYARD_PUBLIC_URL>/auth/callback - Scopes:
openid profile email, plusgroupswhen you useOIDC_ALLOWED_GROUPS - Client authentication: client secret (basic or post), or a public client with no secret
The account menu at the top right shows your name and, when the provider sends a picture claim
(PocketID does), your avatar; the page then allows images from that host only. Sessions last 12 hours in a signed,
HTTP-only cookie. The signing key is generated in
$MCPYARD_DATA_DIR/session.key; delete it and restart to sign everyone out.
Who may sign in
Section titled “Who may sign in”Anyone your provider lets through for this client. Restrict it in the provider, or set
OIDC_ALLOWED_GROUPS: the ID token’s groups claim must then contain one of the listed groups.
Provider examples
Section titled “Provider examples”PocketID
Section titled “PocketID”Under OIDC Clients, add a client named mcpyard with the callback URL above. Copy the client id
and secret into the environment. Use the client’s allowed user groups to choose who may sign in.
Authelia
Section titled “Authelia”identity_providers: oidc: clients: - client_id: mcpyard client_name: MCP Yard client_secret: "$pbkdf2-sha512$..." # authelia crypto hash generate pbkdf2 authorization_policy: two_factor redirect_uris: [https://mcpyard.example.lan/auth/callback] scopes: [openid, profile, email, groups] token_endpoint_auth_method: client_secret_basic require_pkce: true pkce_challenge_method: S256Keycloak
Section titled “Keycloak”Create an OpenID Connect client with Client authentication on and Standard flow enabled, and
set the valid redirect URI. The secret is on the Credentials tab. To use
OIDC_ALLOWED_GROUPS, add a Group Membership mapper with the claim name groups and
Full group path off to the client’s dedicated scope.
Without sign-in
Section titled “Without sign-in”Without the OIDC variables the UI is off: only /mcp and /healthz answer.
MCPYARD_UI_AUTH=none serves the UI to anyone who reaches the port. Use it for a local trial, on a
network you trust, or behind a proxy that already authenticates. The hub prints a warning at startup
as a reminder.
Protections
Section titled “Protections”- Forms are accepted only from the hub’s own origin, and cookies are
SameSite=Lax. - A strict Content Security Policy allows no inline handlers and only the page’s own script, through a per-request nonce.
- The UI never shows a token after creation.