
Getting started
Run the hub, declare a server, create a key, connect a client. Five minutes, one container.
1. Write the server file
Section titled “1. Write the server file”servers: time: package: { pypi: mcp-server-time } memory: package: { npm: "@modelcontextprotocol/server-memory" }Each server is a package the hub installs, a command it spawns, or a URL it connects to. See Server file for everything a server can declare.
2. Start the container
Section titled “2. Start the container”For a first try on your own machine, run it without sign-in and only on localhost:
docker run -d --name mcpyard \ -p 127.0.0.1:3000:3000 \ -e MCPYARD_UI_AUTH=none \ -v ./mcpyard.yaml:/config/mcpyard.yaml \ -v mcpyard-data:/data \ ghcr.io/cedhuf/mcpyard:latestThe container runs as uid 1000; if you want to add servers from the web UI, make the file writable by
it with chown 1000 mcpyard.yaml. The first start installs each package into the data volume; later starts reuse it. Follow along with
docker logs -f mcpyard.
MCPYARD_UI_AUTH=nonelets anyone who reaches the port manage the hub. For anything beyond a local trial, put the UI behind your identity provider: see Web UI and sign-in.
3. Create a key
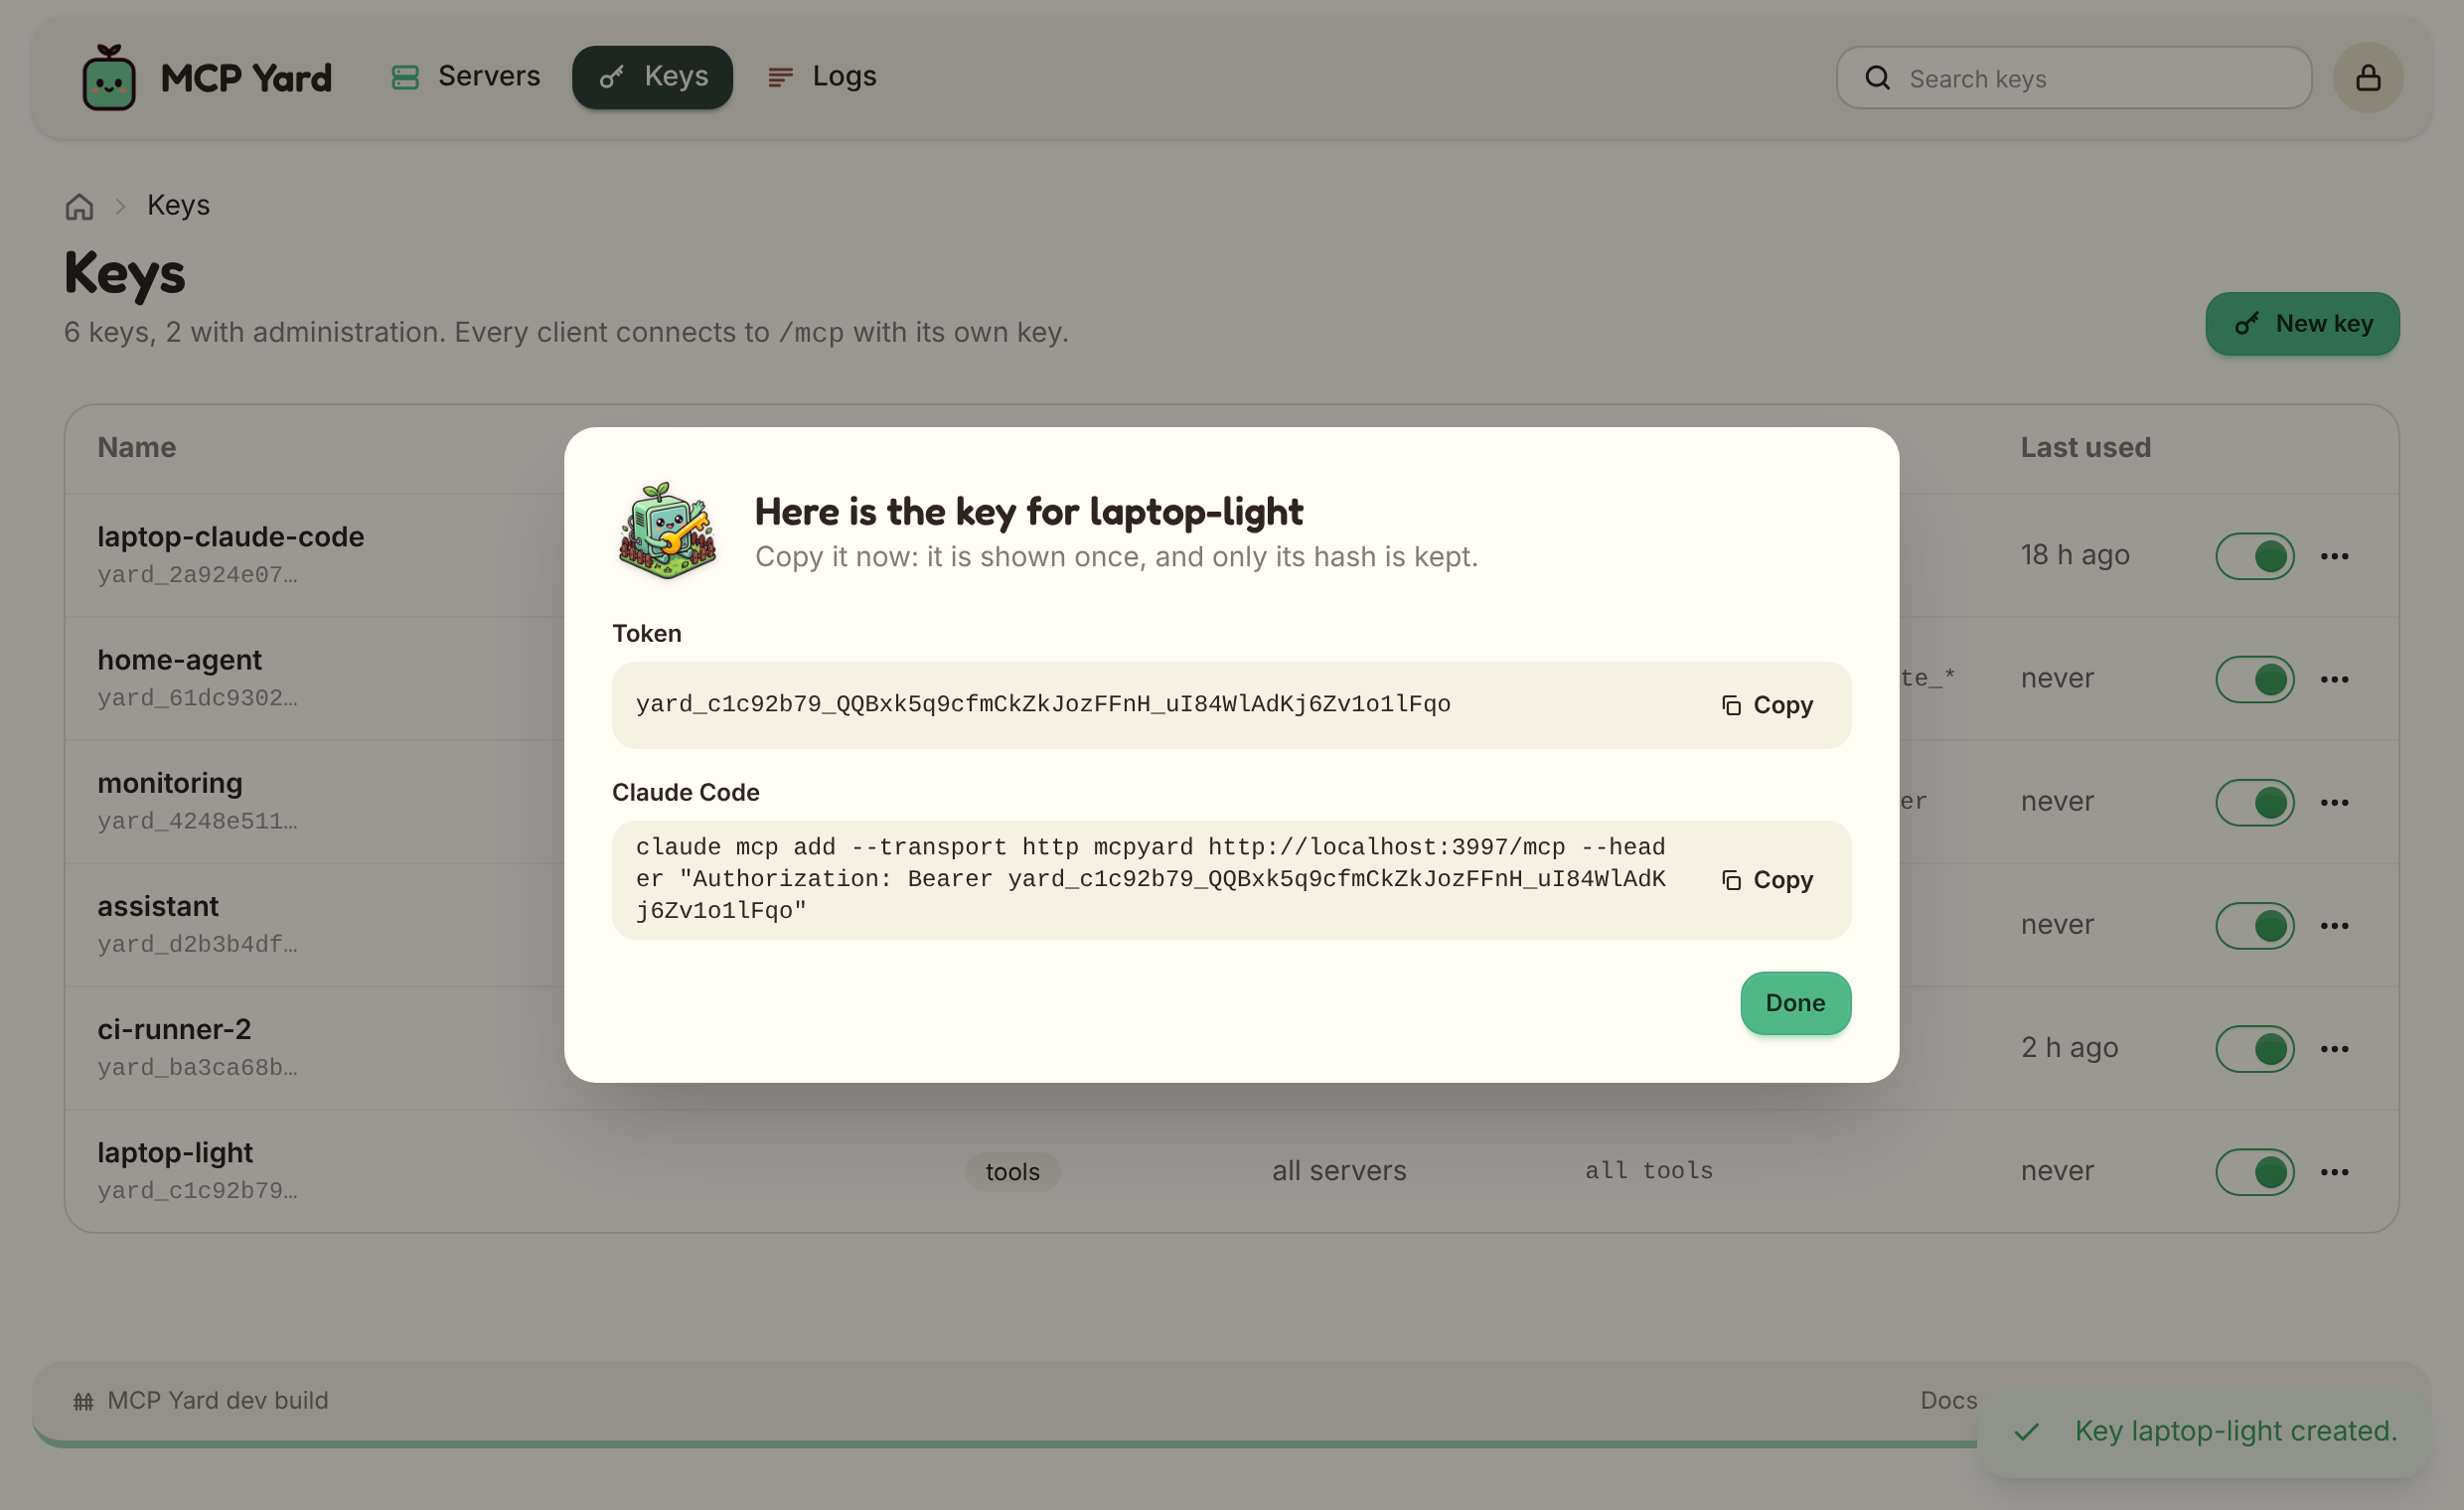
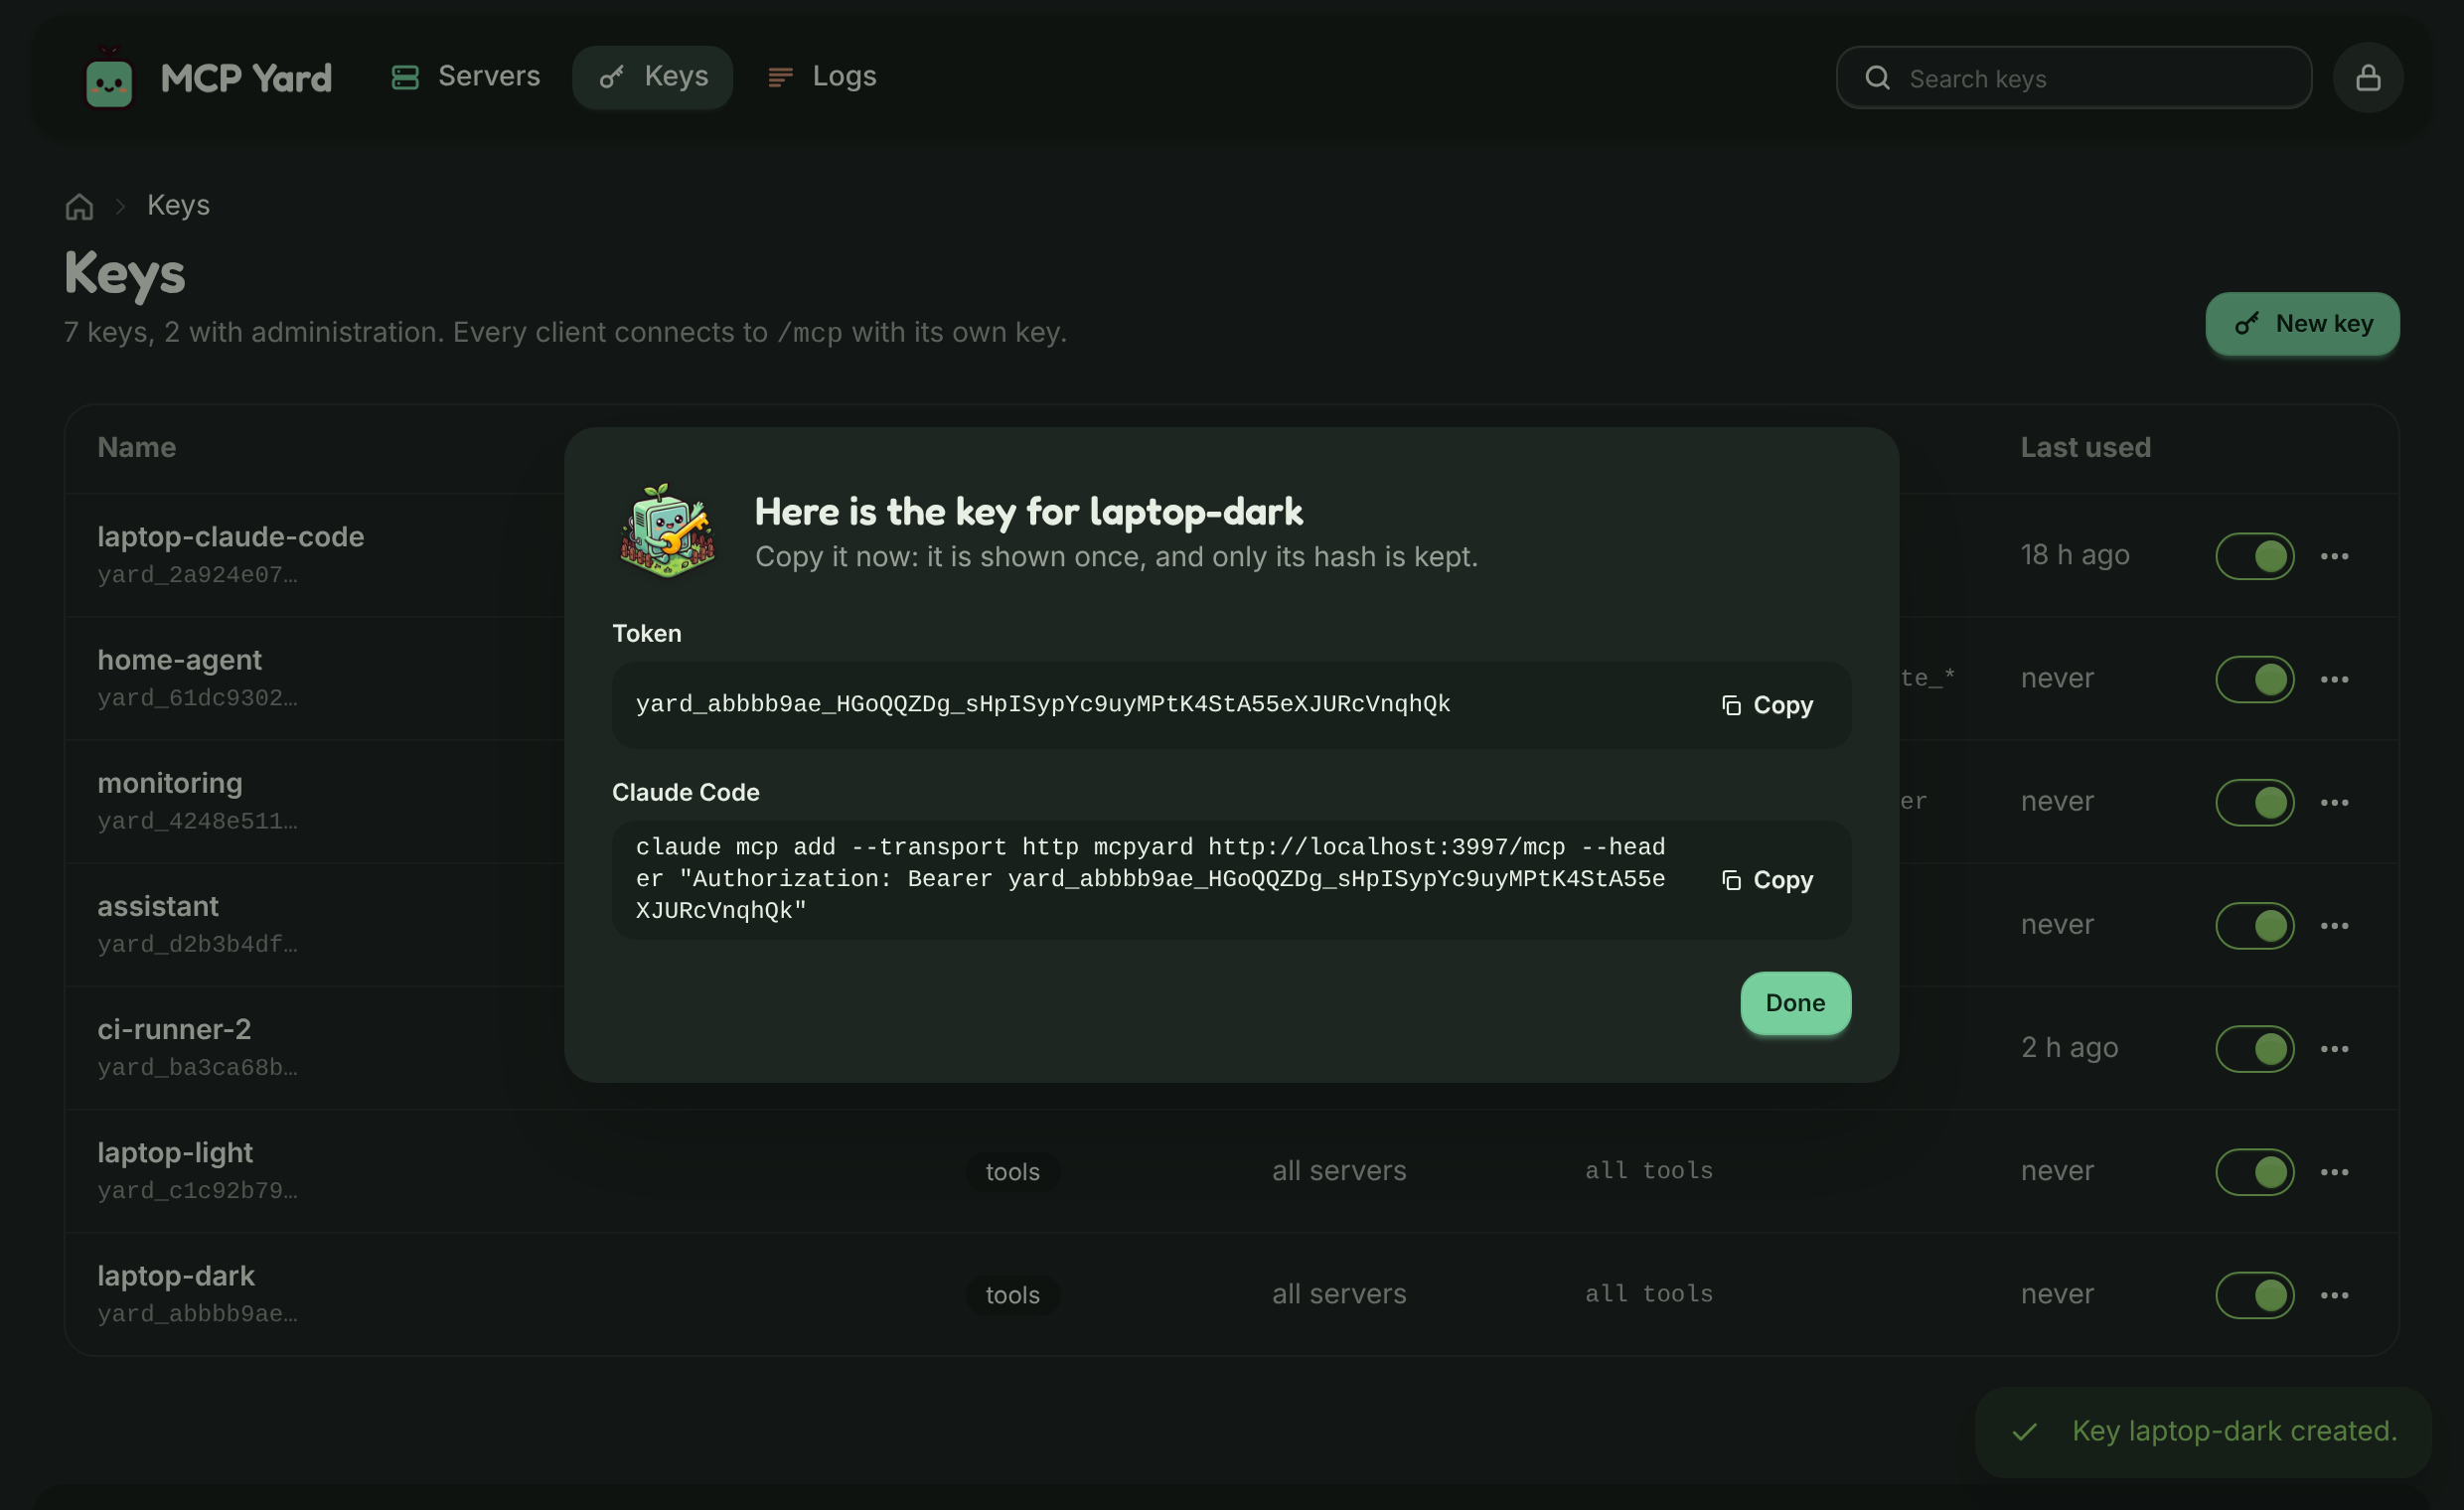
Section titled “3. Create a key”Open http://localhost:3000, check that both servers are ready, then open Keys and create one for your client. The token is shown once, with the command to add it to Claude Code:
4. Connect a client
Section titled “4. Connect a client”claude mcp add --transport http mcpyard http://localhost:3000/mcp \ --header "Authorization: Bearer yard_..."Any client that speaks streamable HTTP works the same way: one URL, one bearer token. Tools appear as
<server>-<tool>, for example time-get_current_time.
- Deployment: Docker Compose, reverse proxy, TLS.
- Packages and updates: pin versions or let the hub track them.
- Keys and scopes: give each client only what it needs.